[Windows 11/10] OneDrive
Applicable Products: Notebook, Desktop, All-in-One PC, Gaming Handheld, MiniPC
Windows 11/10 provides free storage space in the cloud called 'OneDrive', and you just need to create a Microsoft account and then you will get 5GB web storage space. You can save your files to OneDrive, and access them from any computer, tablet, or mobile phone. You also can share files, folders, and photos with friends and family. No more large email attachments or thumb drives, just send a link via email or text. You also can refer to the Microsoft’s introduction to learn more about OneDrive.
Please go to the corresponding instruction based on the current Windows operating system on your device:
Windows 11 operating system
Table of Contents:
Get started with OneDrive
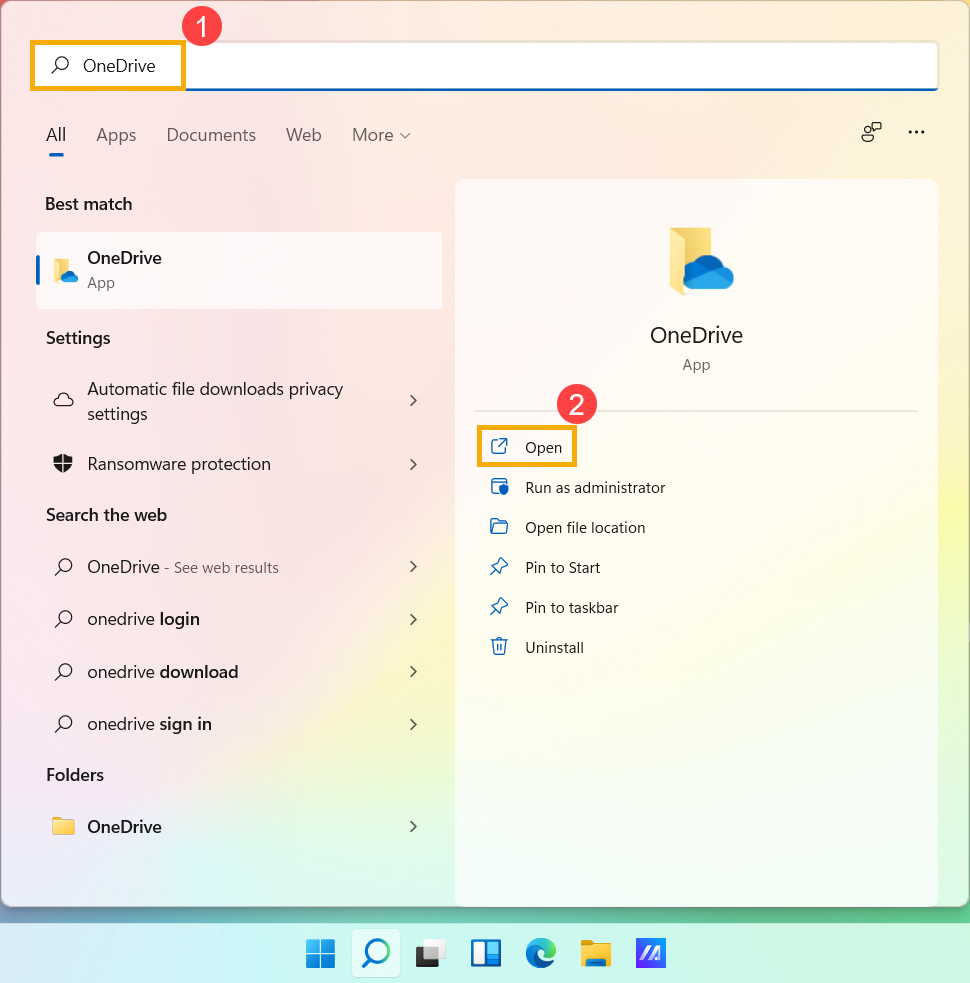
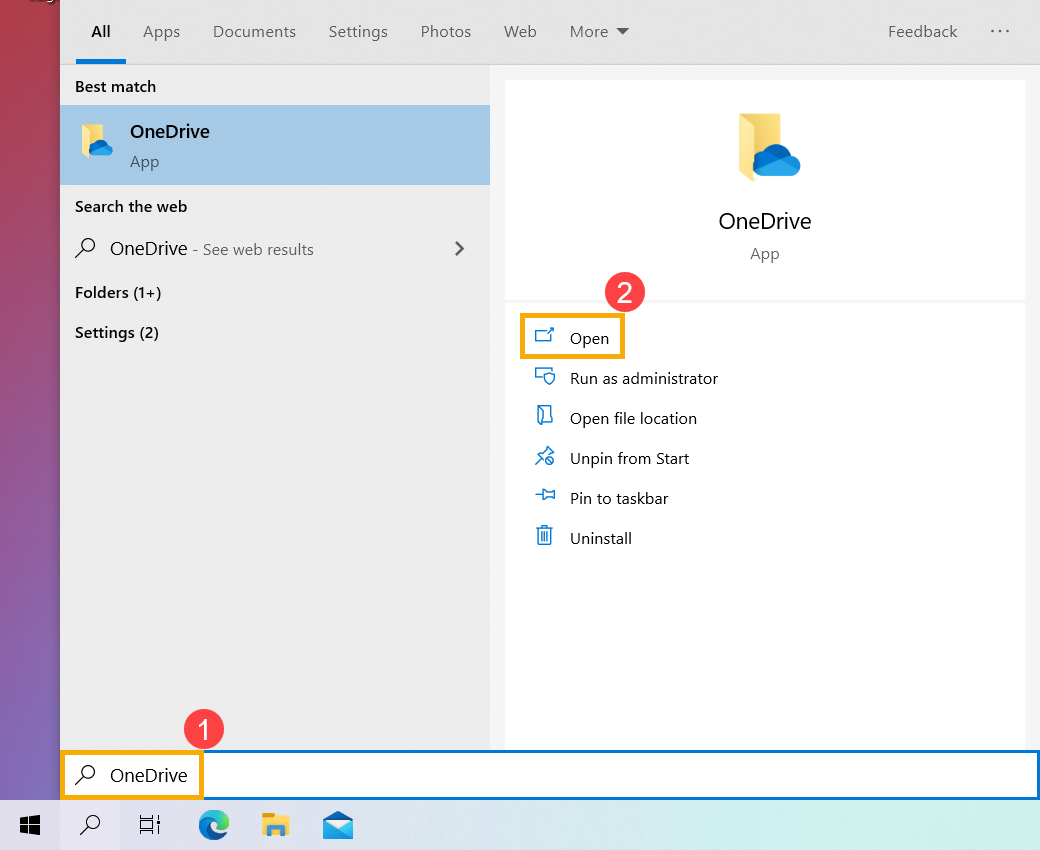
- Type and search [OneDrive] in the Windows search bar①, then click [Open]②.
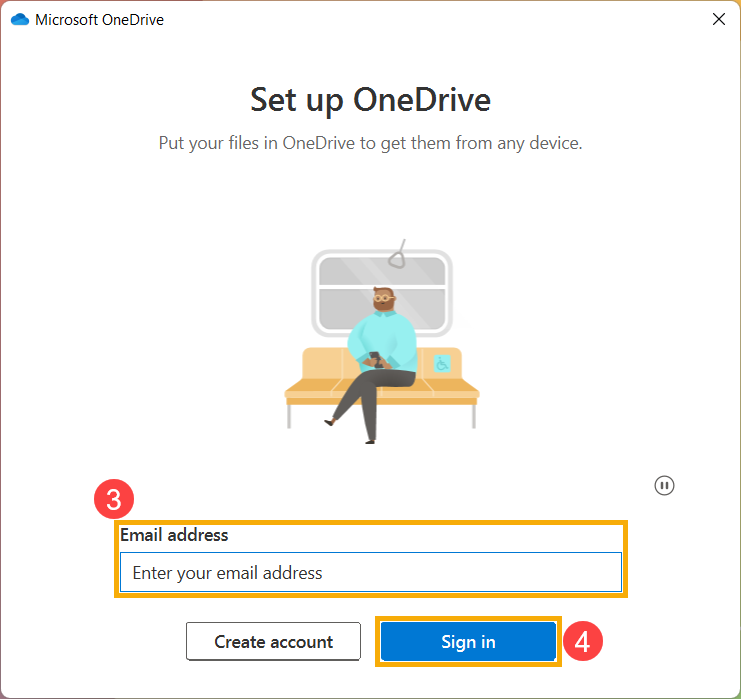
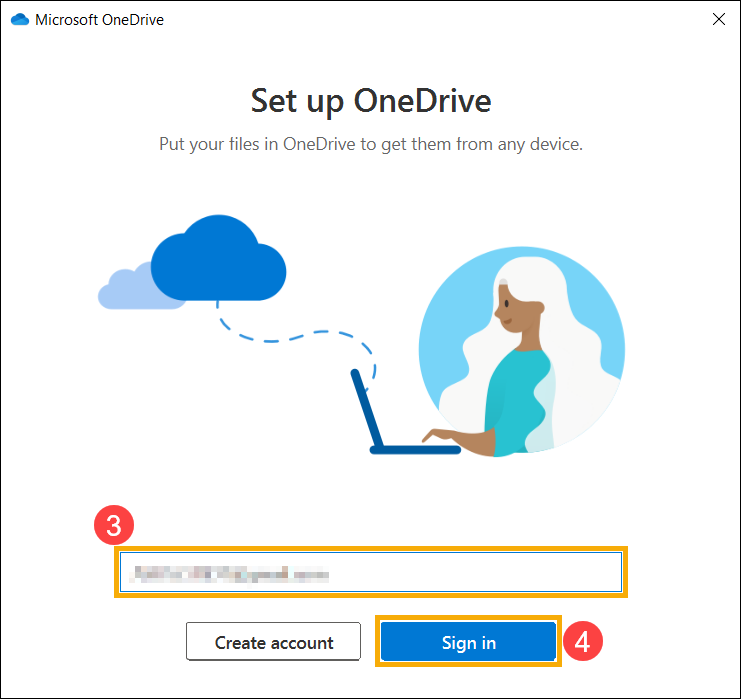
- When using OneDrive for the first time, please enter your Microsoft account③, and then select [Sign in]④. If you don’t have a Microsoft account yet, please select Create account.
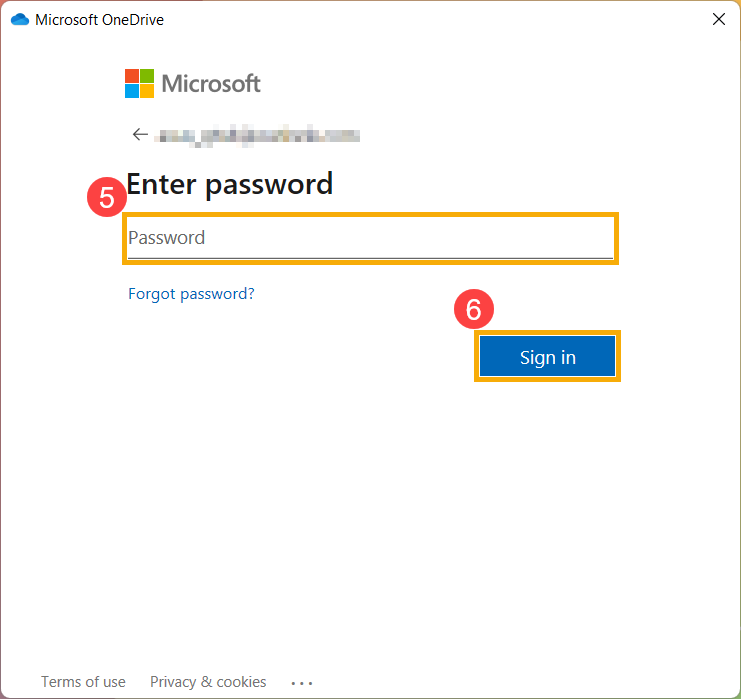
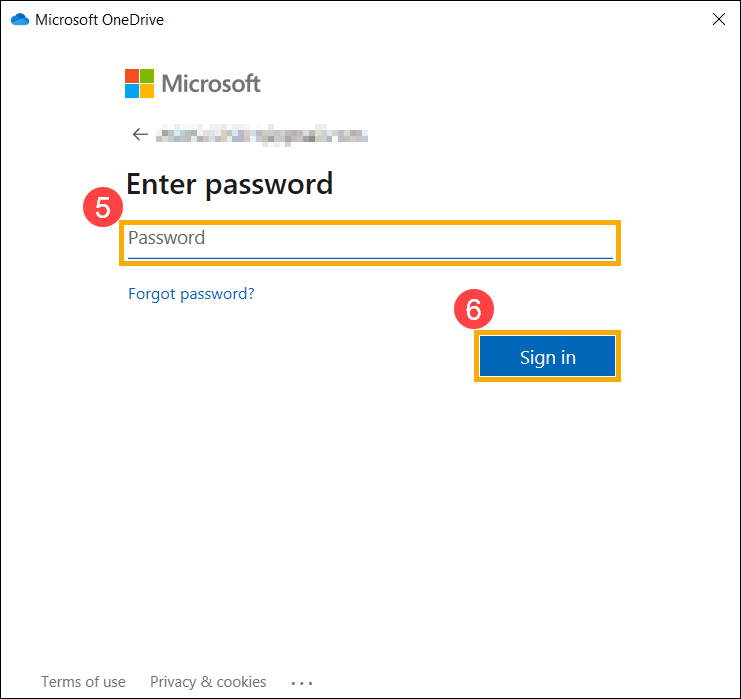
- Please enter the password of your Microsoft account⑤, and then click [Sign in]⑥.
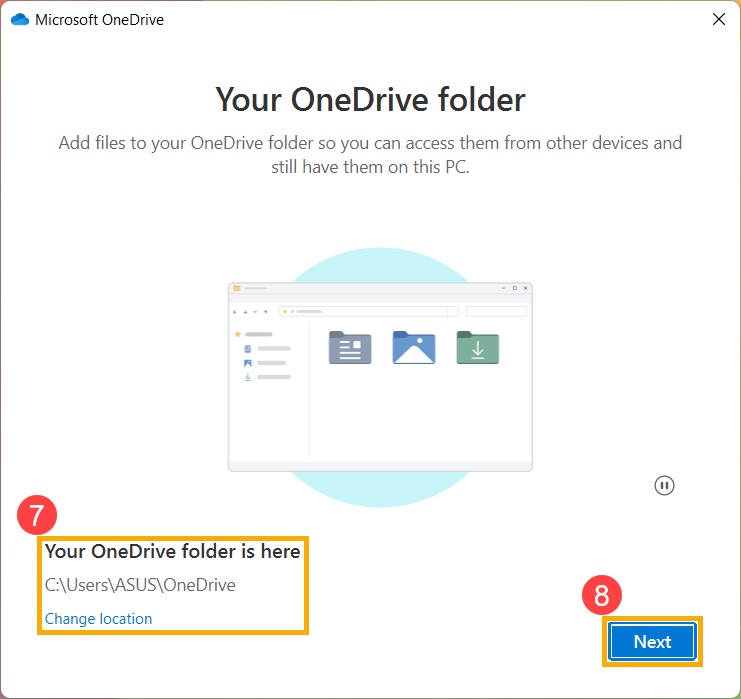
- Your OneDrive folder will be created at this location⑦, and you also can select Change location to change the folder location, and then select [Next]⑧.
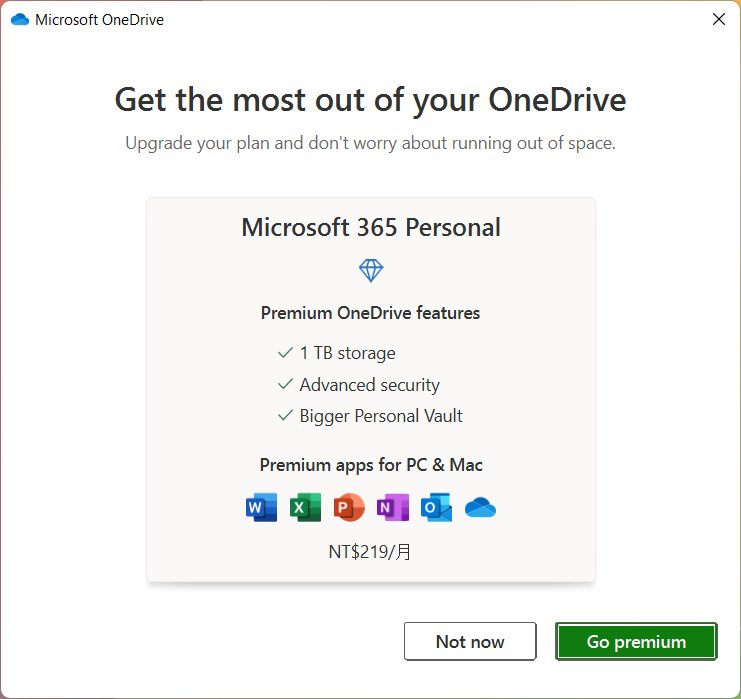
- If you need more OneDrive storage space, you can select Go premium to buy the relevant plan, or you are able to select Not now to use the free space as well.
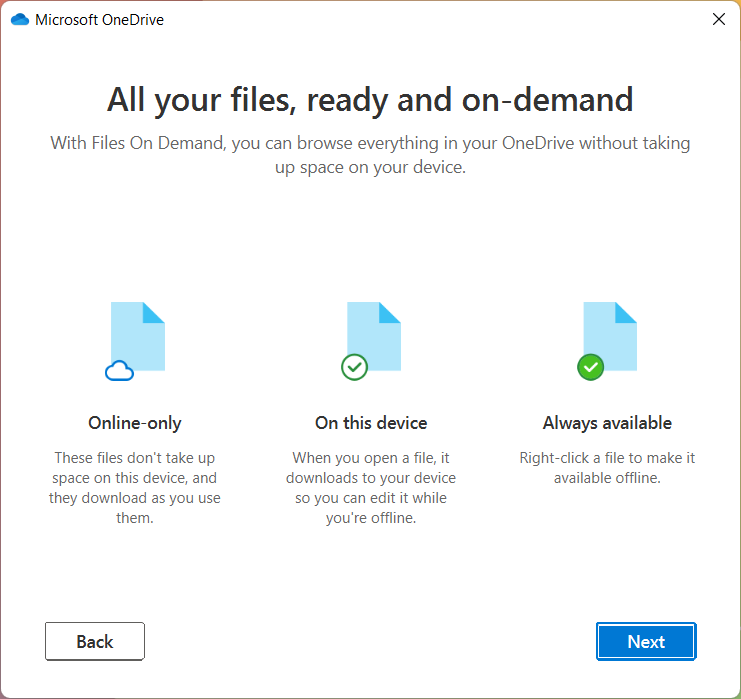
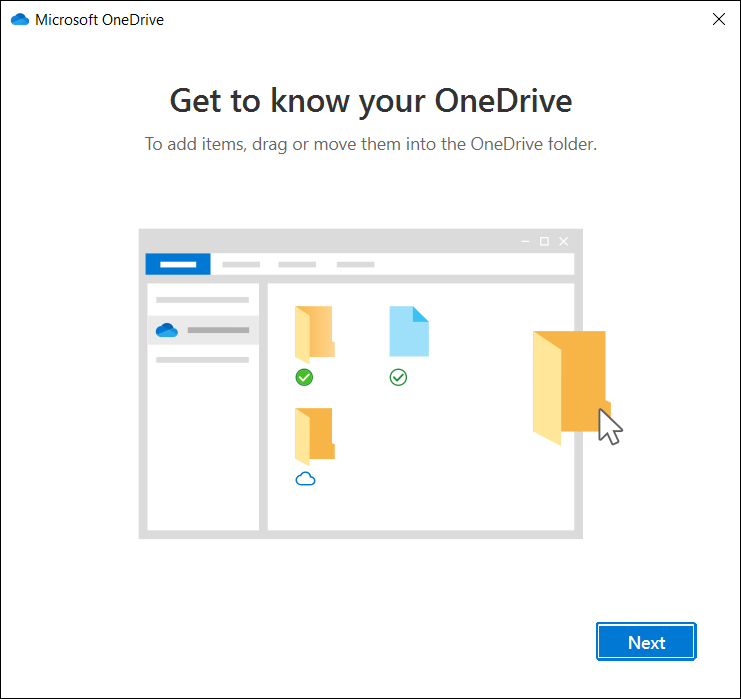
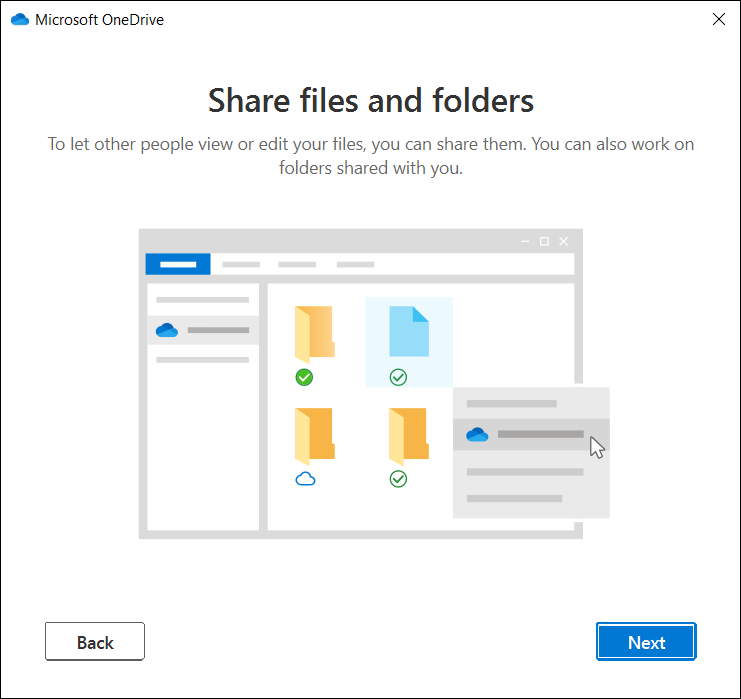
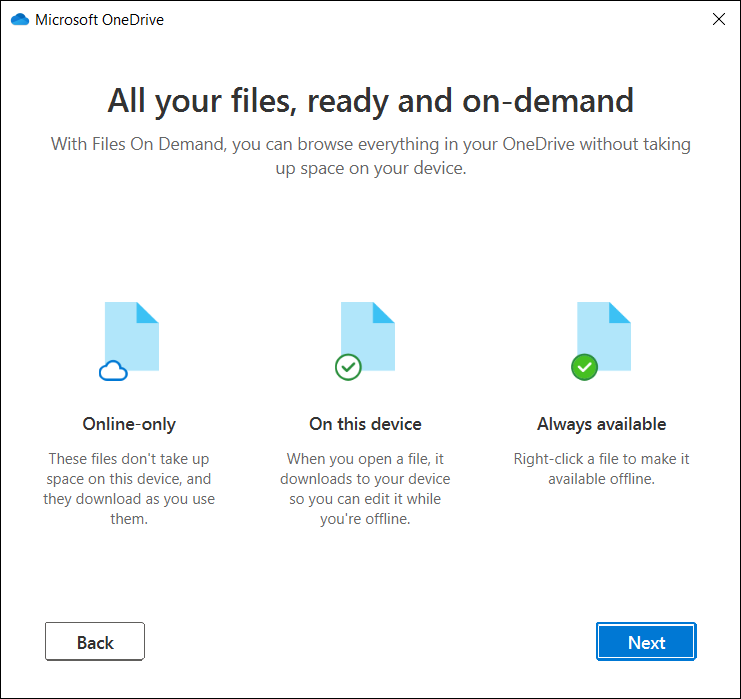
- Next, there are some simple tips to describe the OneDrive operation, please click next to continue.
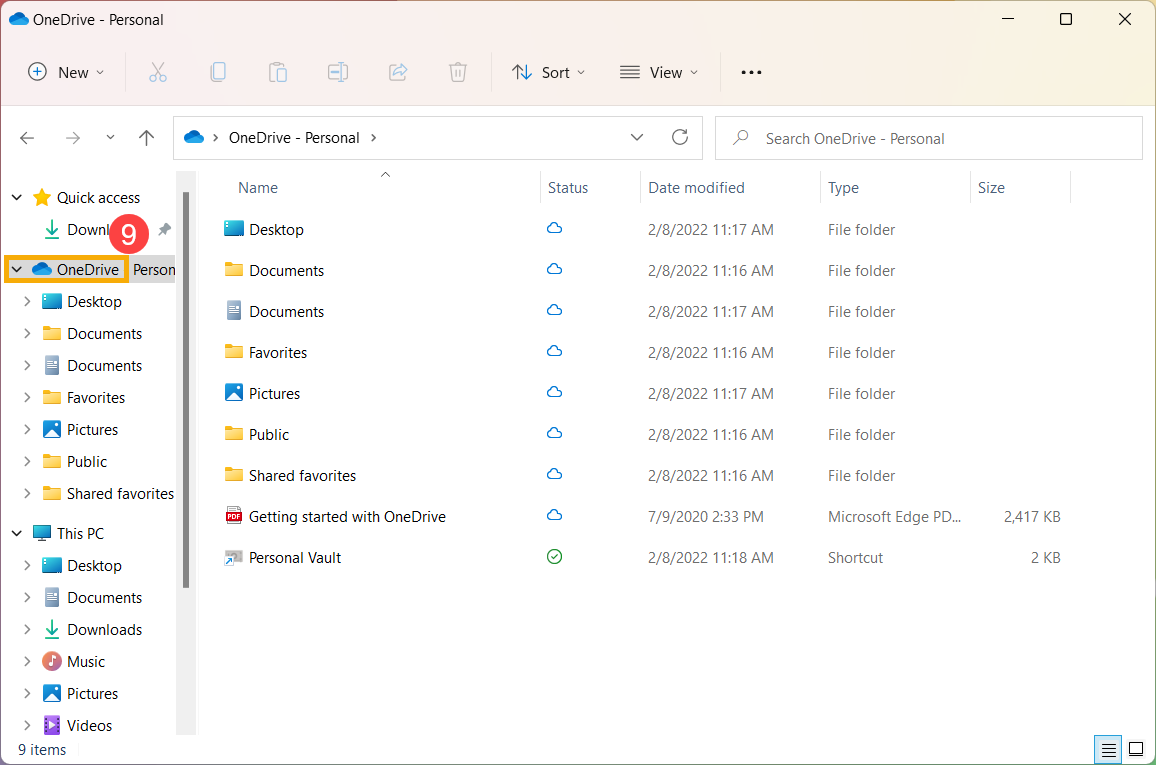
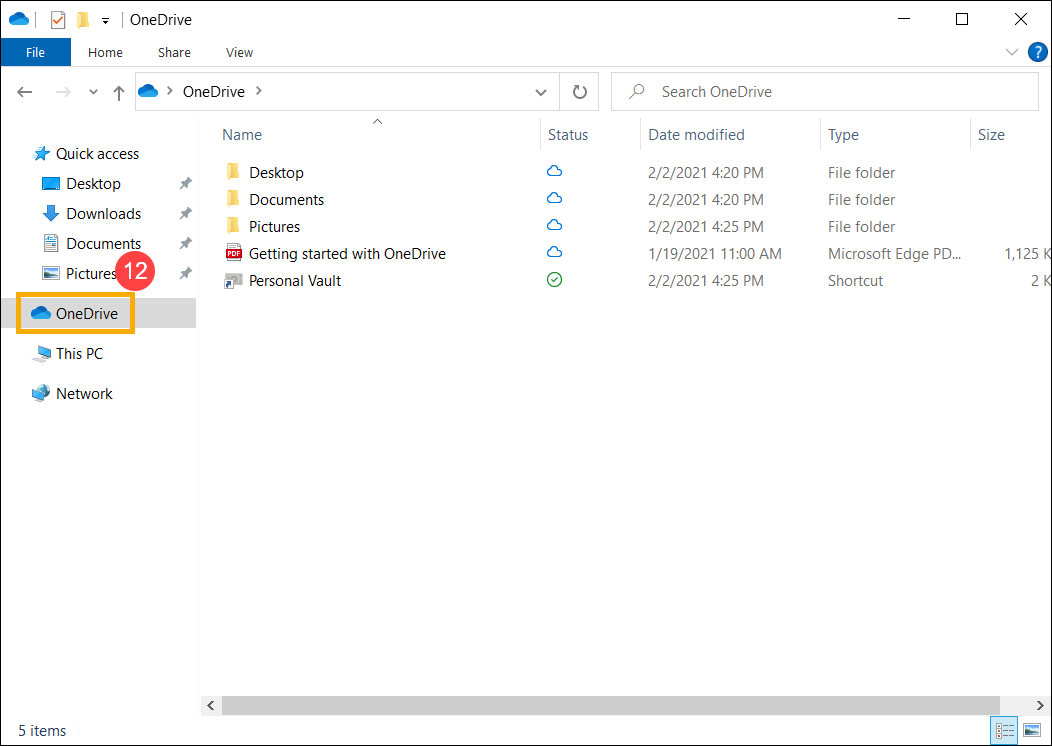
- After the following window appears, you can start to use OneDrive. You are able to go to the folder you set up to access OneDrive, or click the OneDrive shortcut on the left side⑨.
Back to Table of Contents
OneDrive Personal Vault
Personal Vault in OneDrive is protected by identity verification, you can access Personal Vault files with your fingerprint, face, SMS code, or other methods, so you can store your most sensitive files in the cloud without losing the convenience of anywhere access.
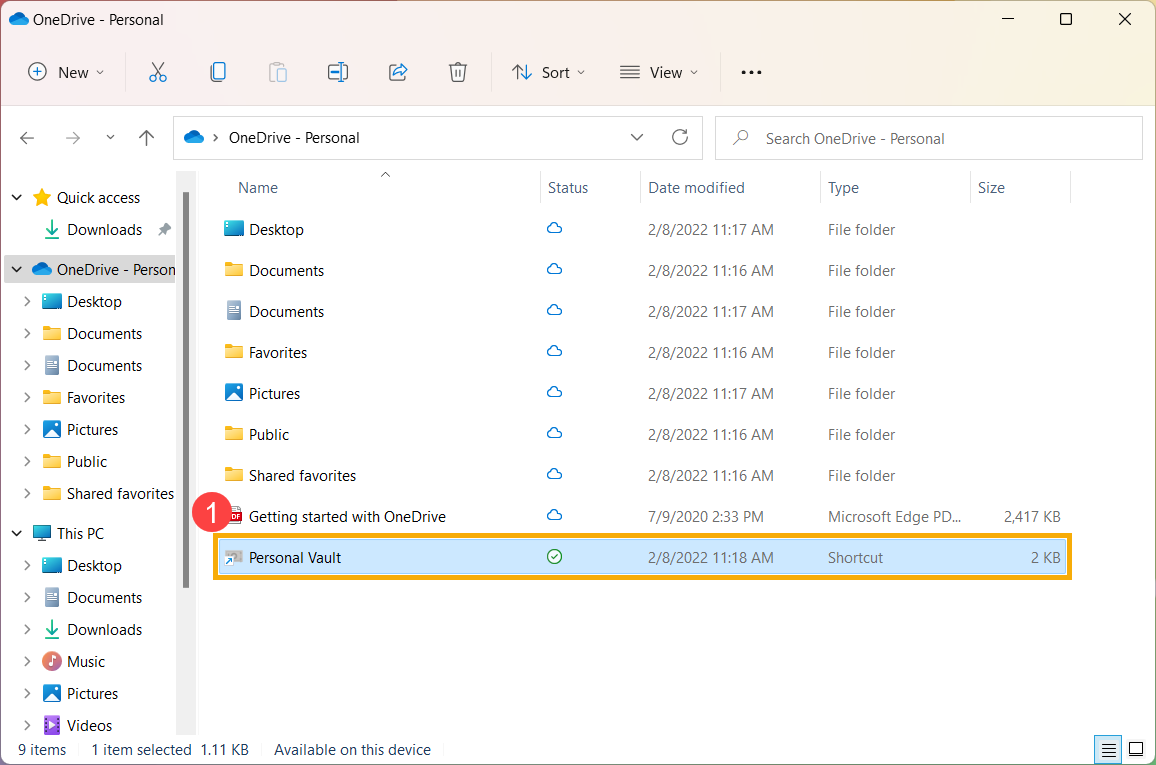
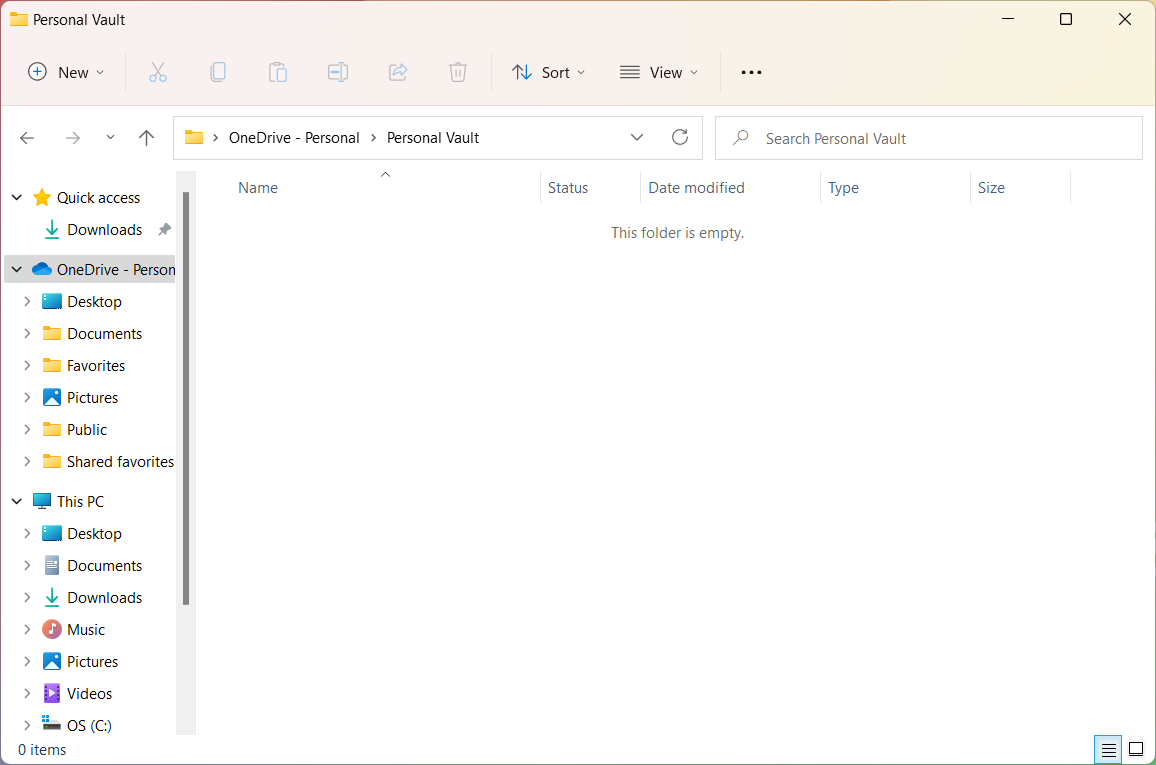
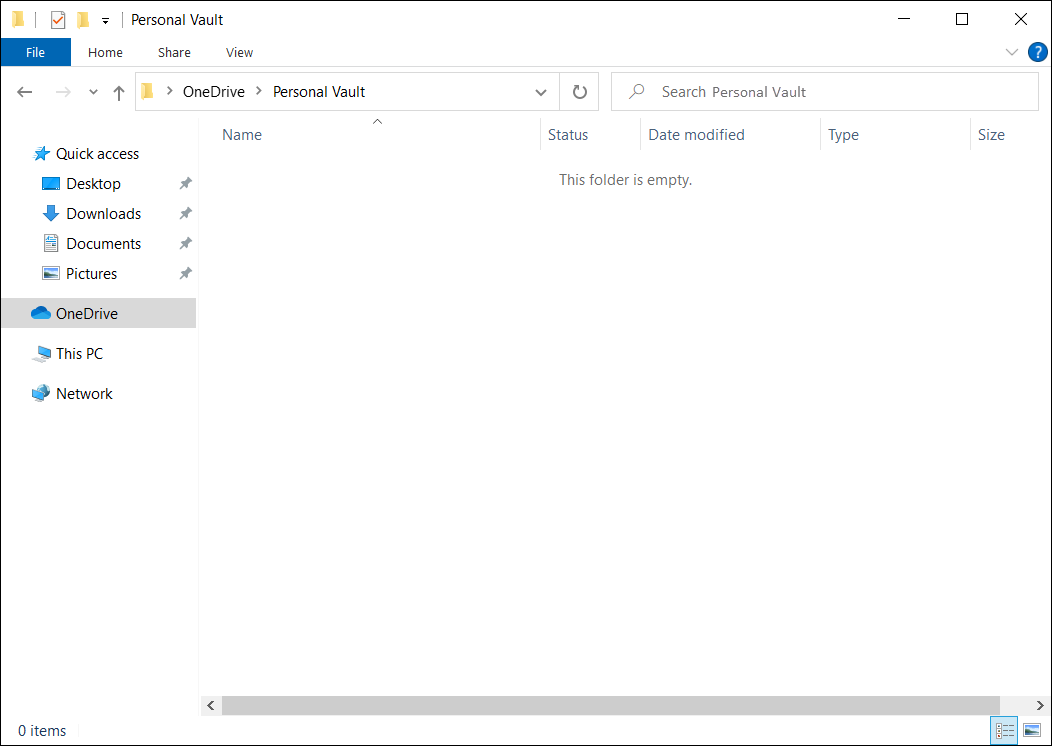
- In OneDrive folder, select [Personal Vault]①.
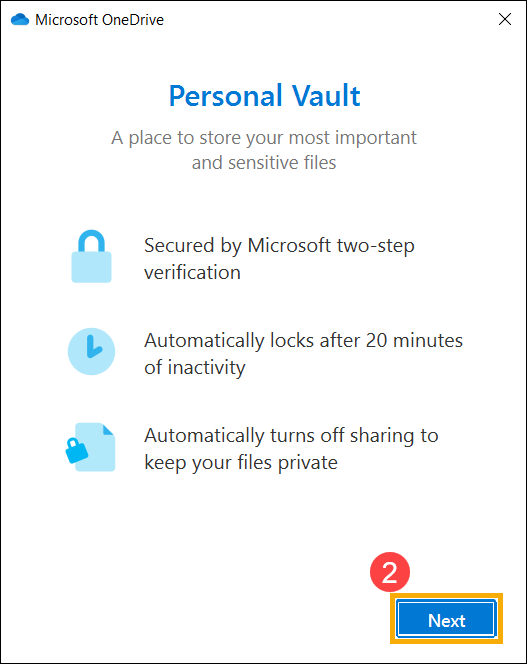
- When using Personal Vault for the first time, please read the following information of Personal Vault, and then click [Next]②.

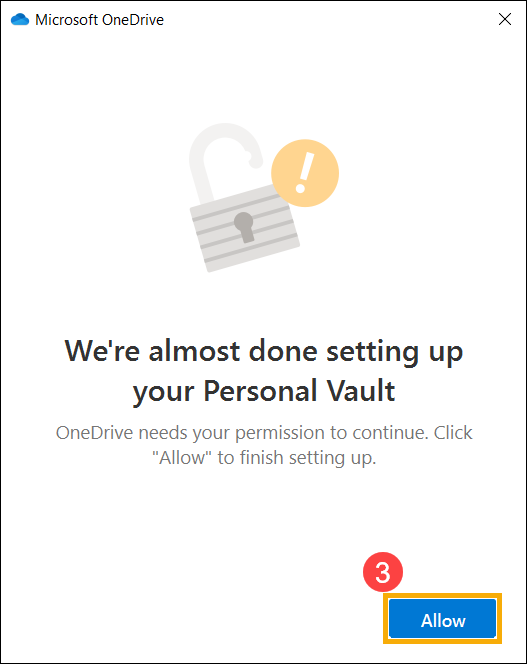
- OneDrive needs your permission to continue, please click [Allow]③ to finish setting up.

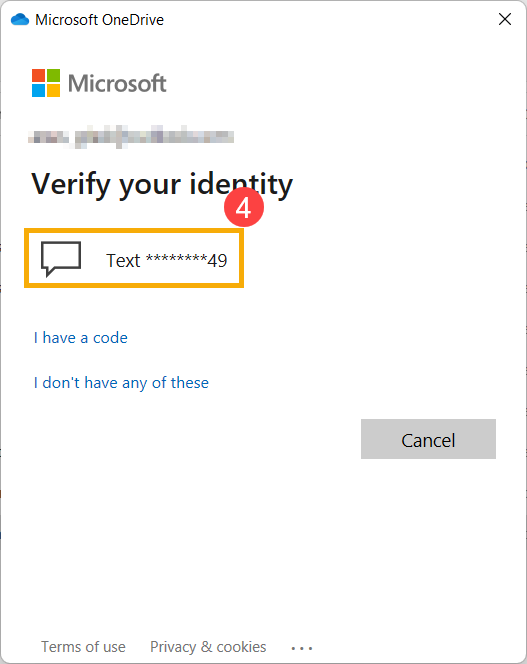
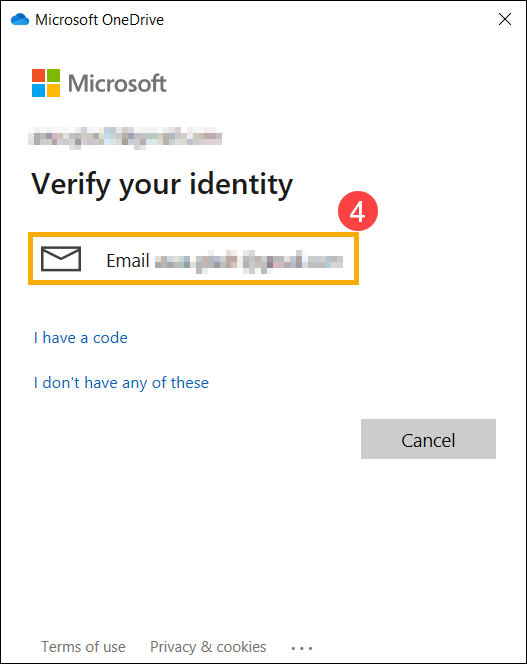
- Microsoft needs to verify your identity, please confirm your account information and choose a verification method④. For example, select text or Email.
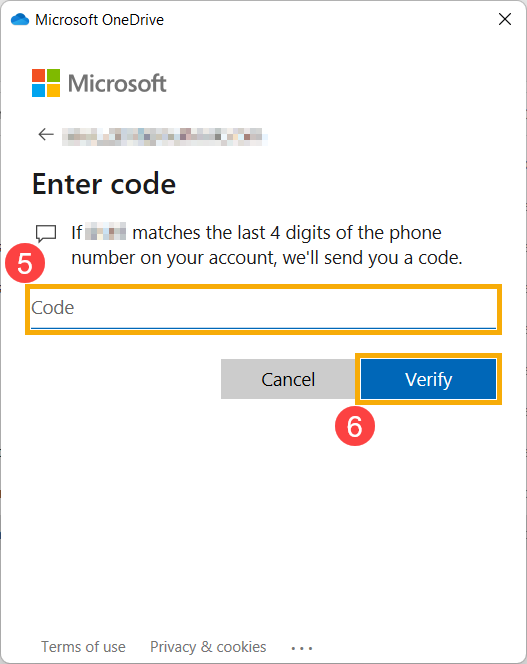
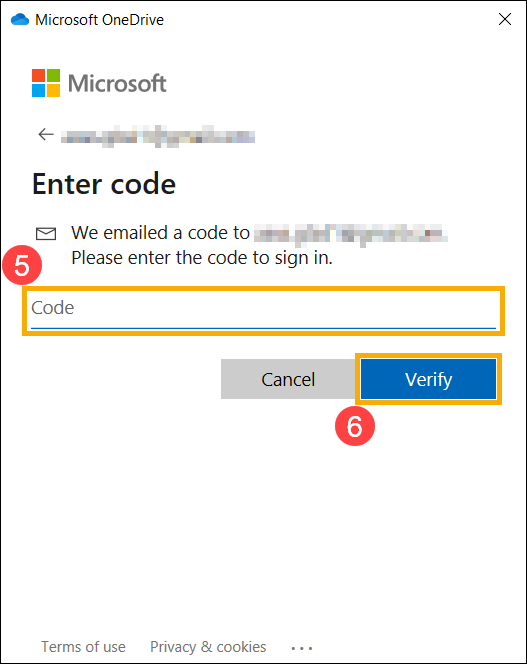
- If you are using text or email, please enter the code you receive⑤, and then select [Verify]⑥.
- After the verification is successful, you can start to use Personal Vault.
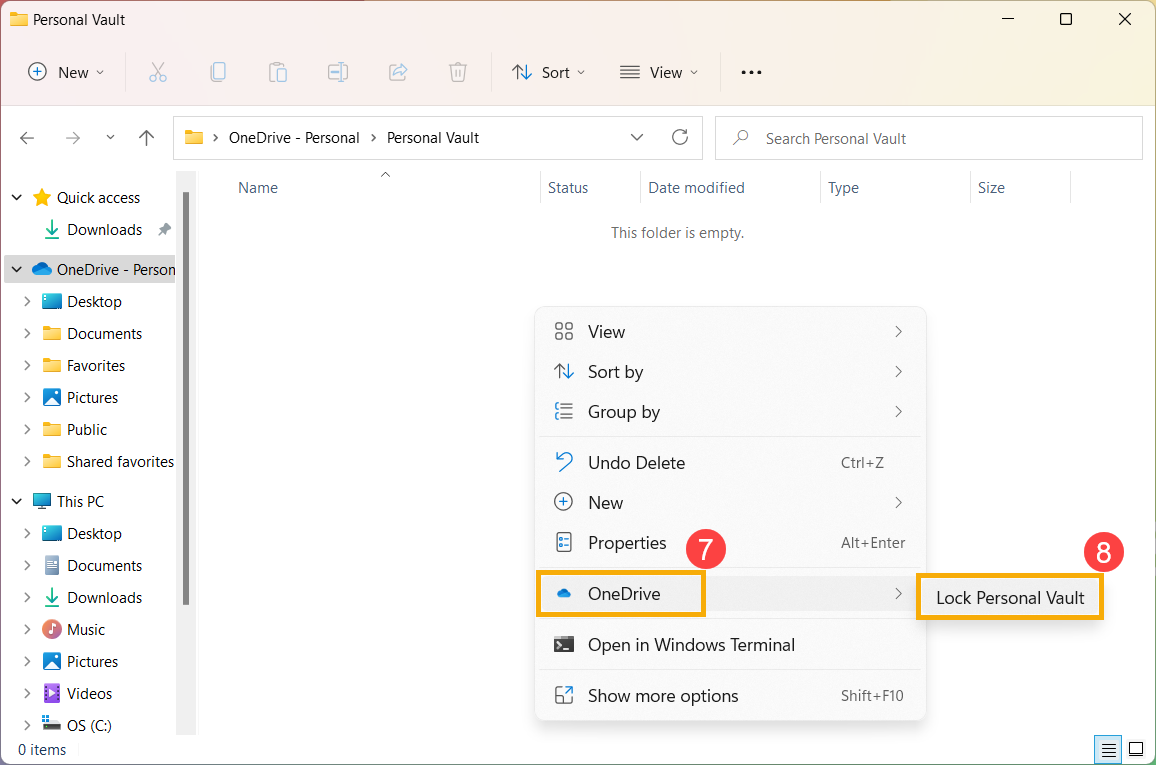
- Personal Vault automatically locks when you are not actively using it, or you can also manually lock it. Right-click anywhere of Personal Vault folder, select [OneDrive]⑦ and then select [Lock Personal Vault]⑧.
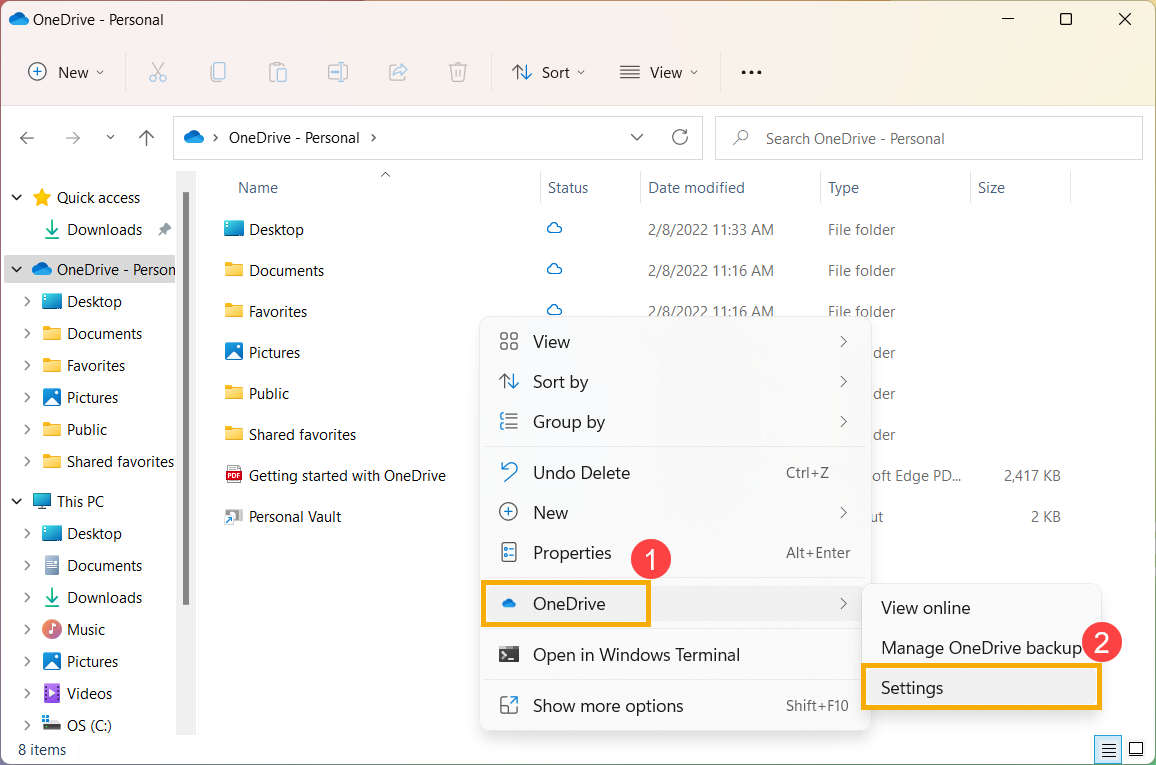
- You can also set up how long Personal Vault waits before automatically locking. Right-click anywhere of OneDrive folder, select [OneDrive]⑨ and then select [Settings]⑩.

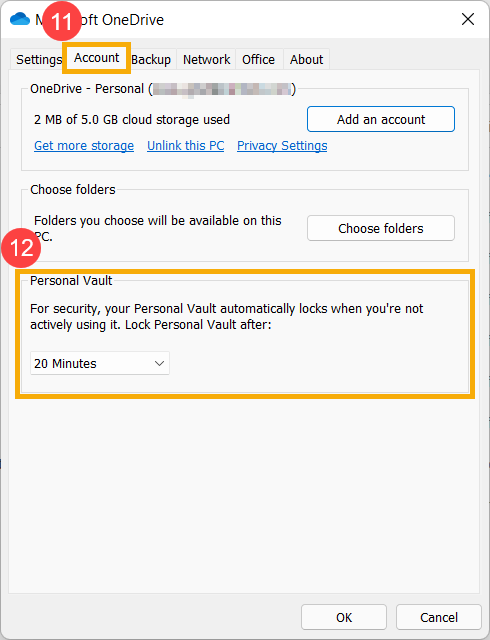
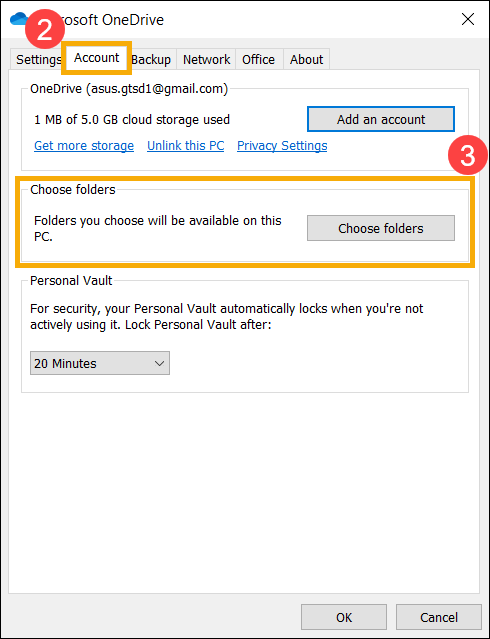
- Select the [Account] tab in OneDrive settings⑪, and then you can set up the locking time in the Personal Vault section⑫.
Back to Table of Contents
Sync files with OneDrive
With OneDrive, you can sync files between your device and the cloud, so you can get to your files from anywhere. If you add, change, or delete a file or folder in your OneDrive folder, the file or folder is added, changed, or deleted on the OneDrive website and vice versa. You can work with your synced files directly in File Explorer and access your files even when you are offline. Whenever you are online, any changes that you or others make will sync automatically.
- Right-click anywhere of OneDrive folder, select [OneDrive]① and then select [Settings]②.
- Select the [Account] tab in OneDrive settings③, and then select [Choose folders]④.
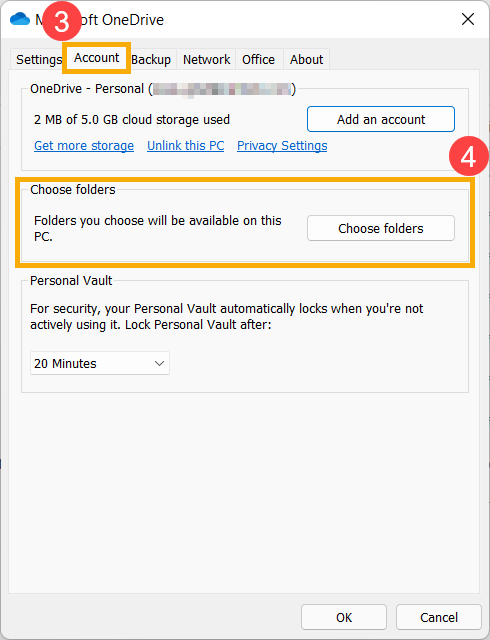
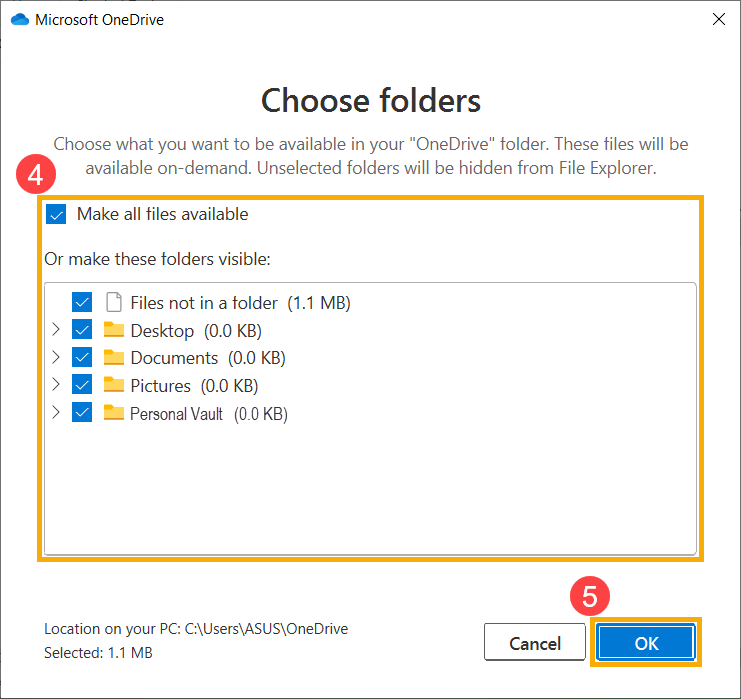
- You can select the files or folders you want to sync⑤, then select [OK]⑥.

Back to Table of Contents
Open OneDrive via the browser and share files and folder
You are able to open OneDrive via the browser and then access your OneDrive files on the website, or share files with people by a shared link. The files and folders you store in OneDrive are private until you decide to share them and you can see who a OneDrive file is shared with or stop sharing at any time.
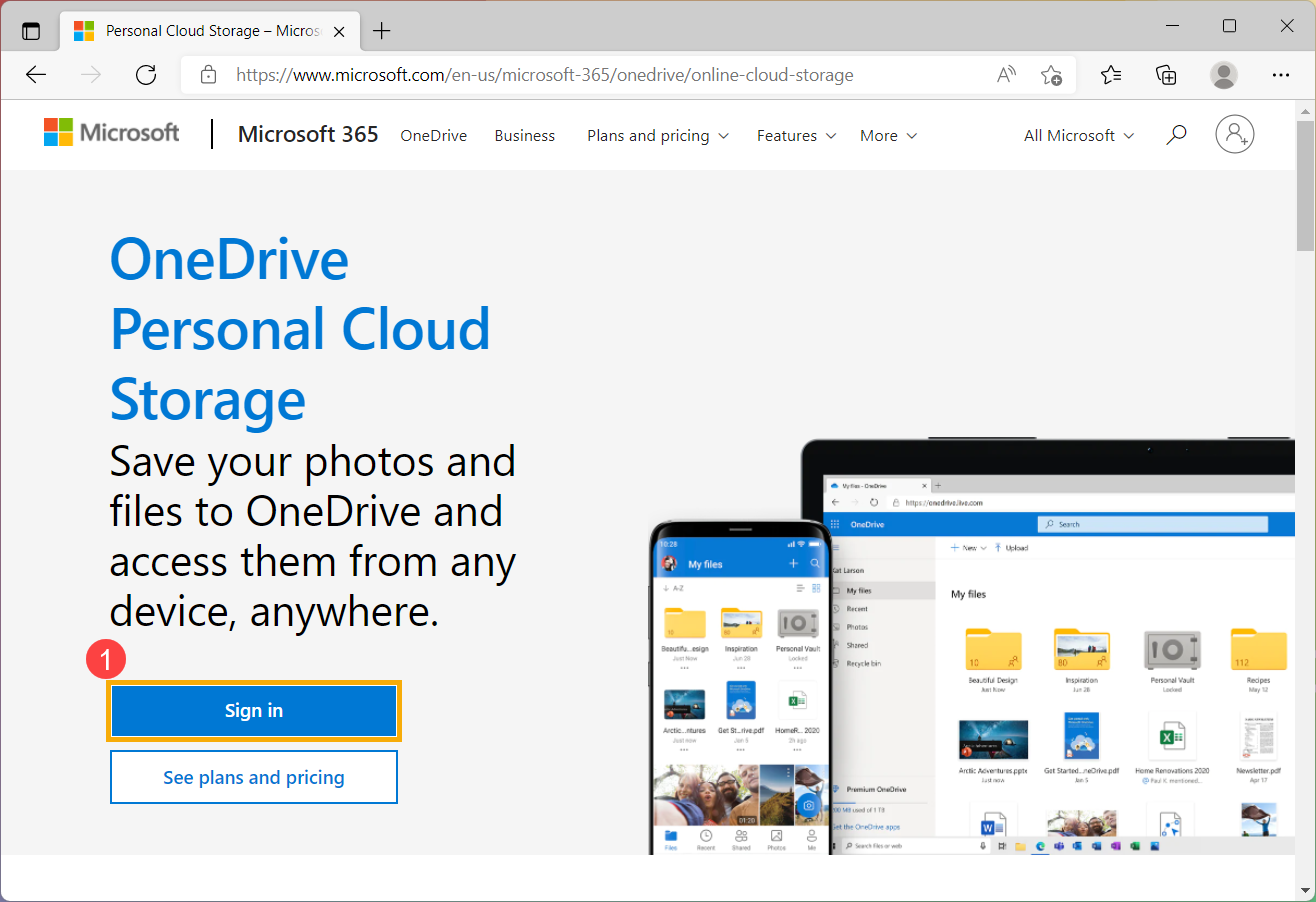
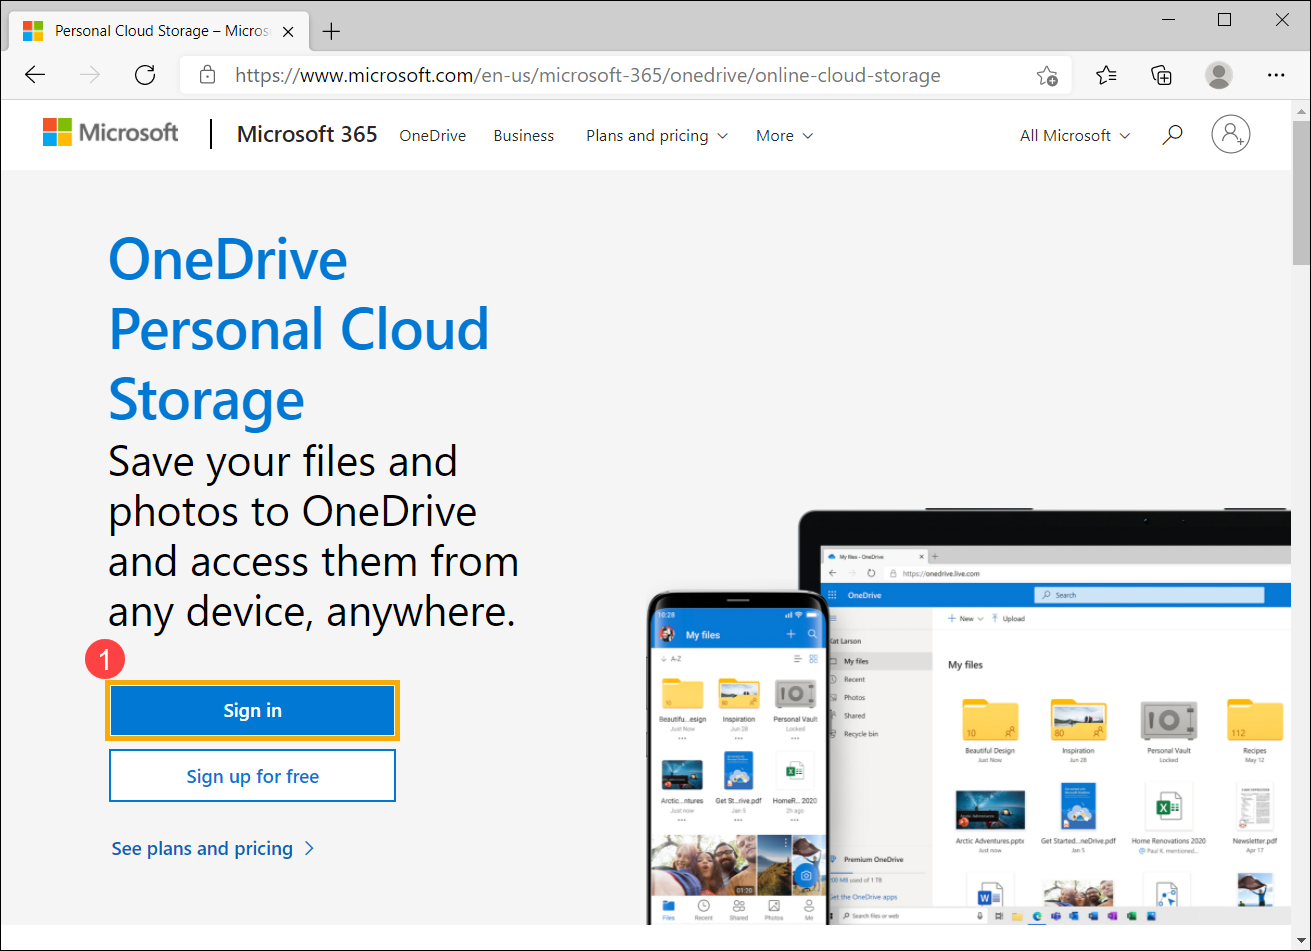
- Go to the Microsoft OneDrive website, then select [Sign in]①.
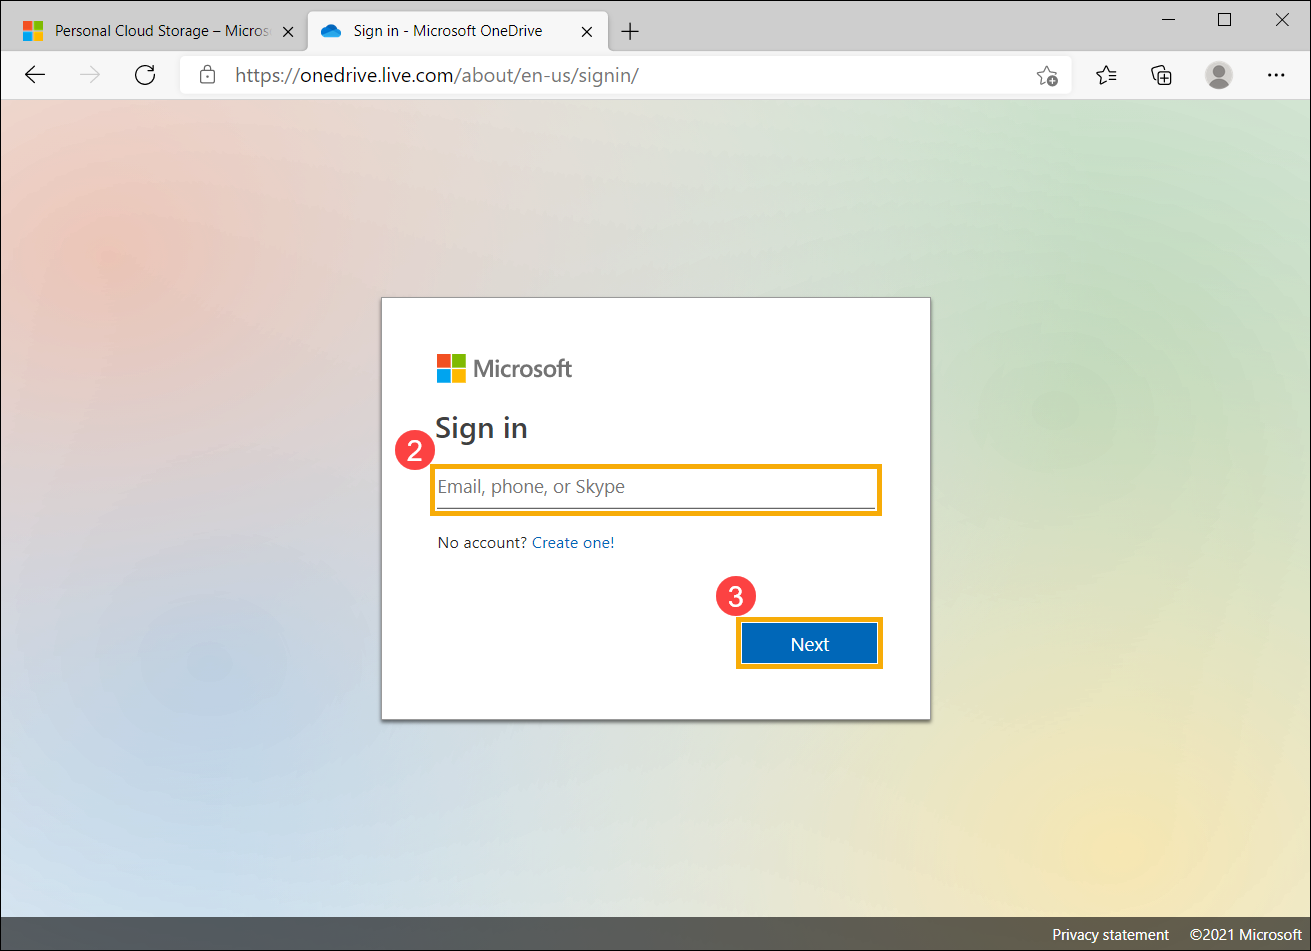
- Enter your Microsoft account②, and then click [Next]③.

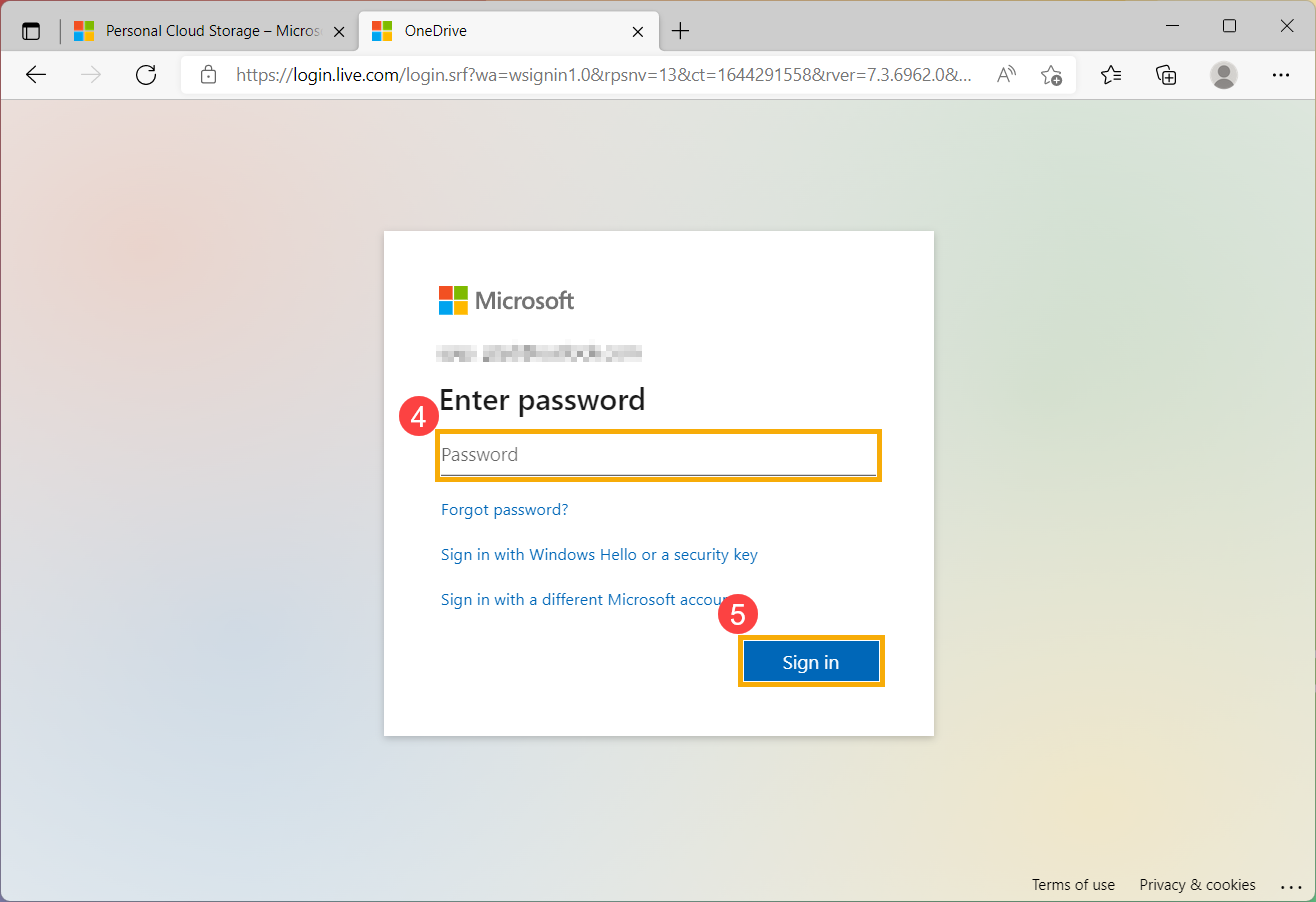
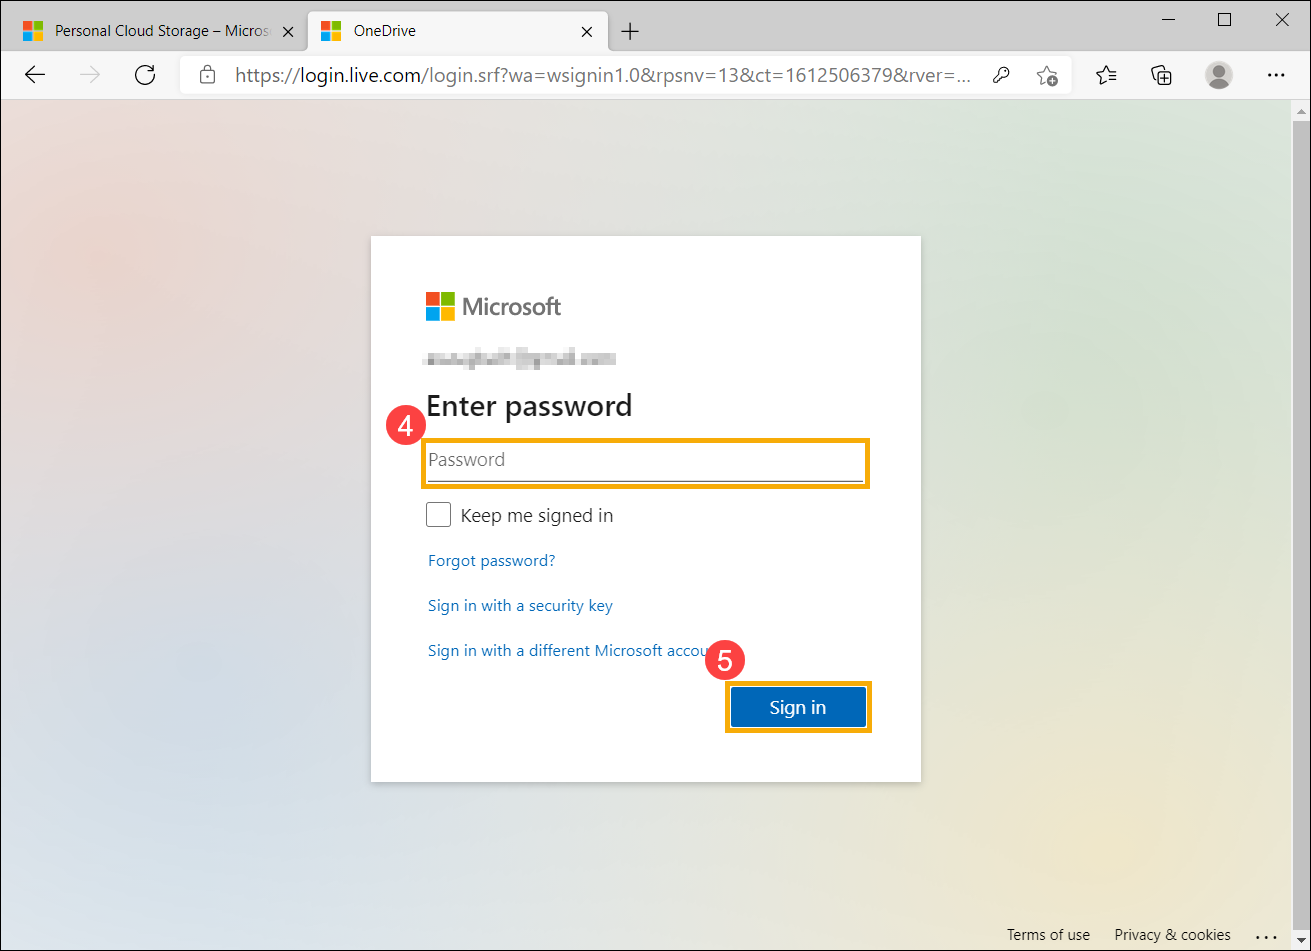
- Enter your password of Microsoft account④, and then click [Sign in]⑤.
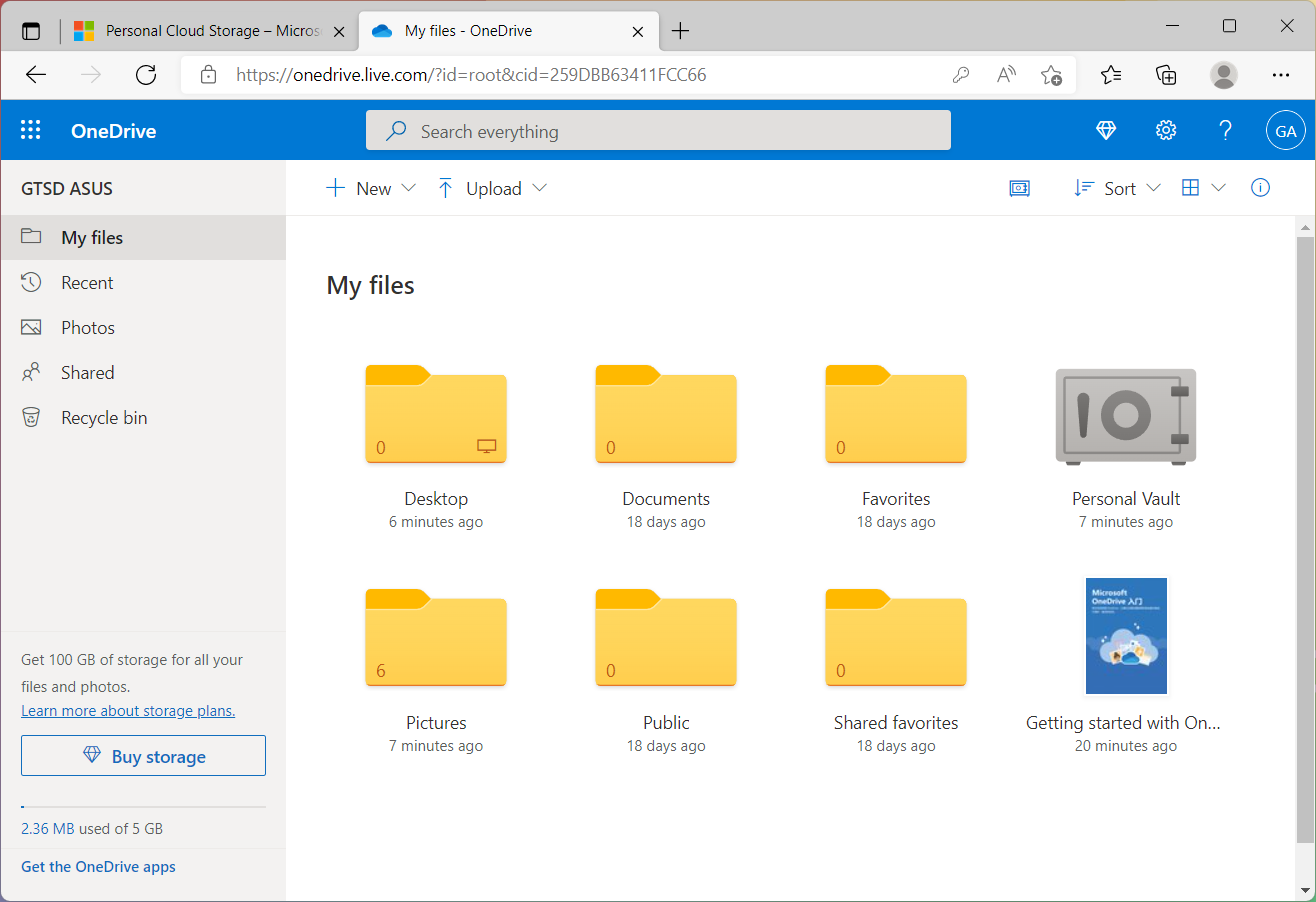
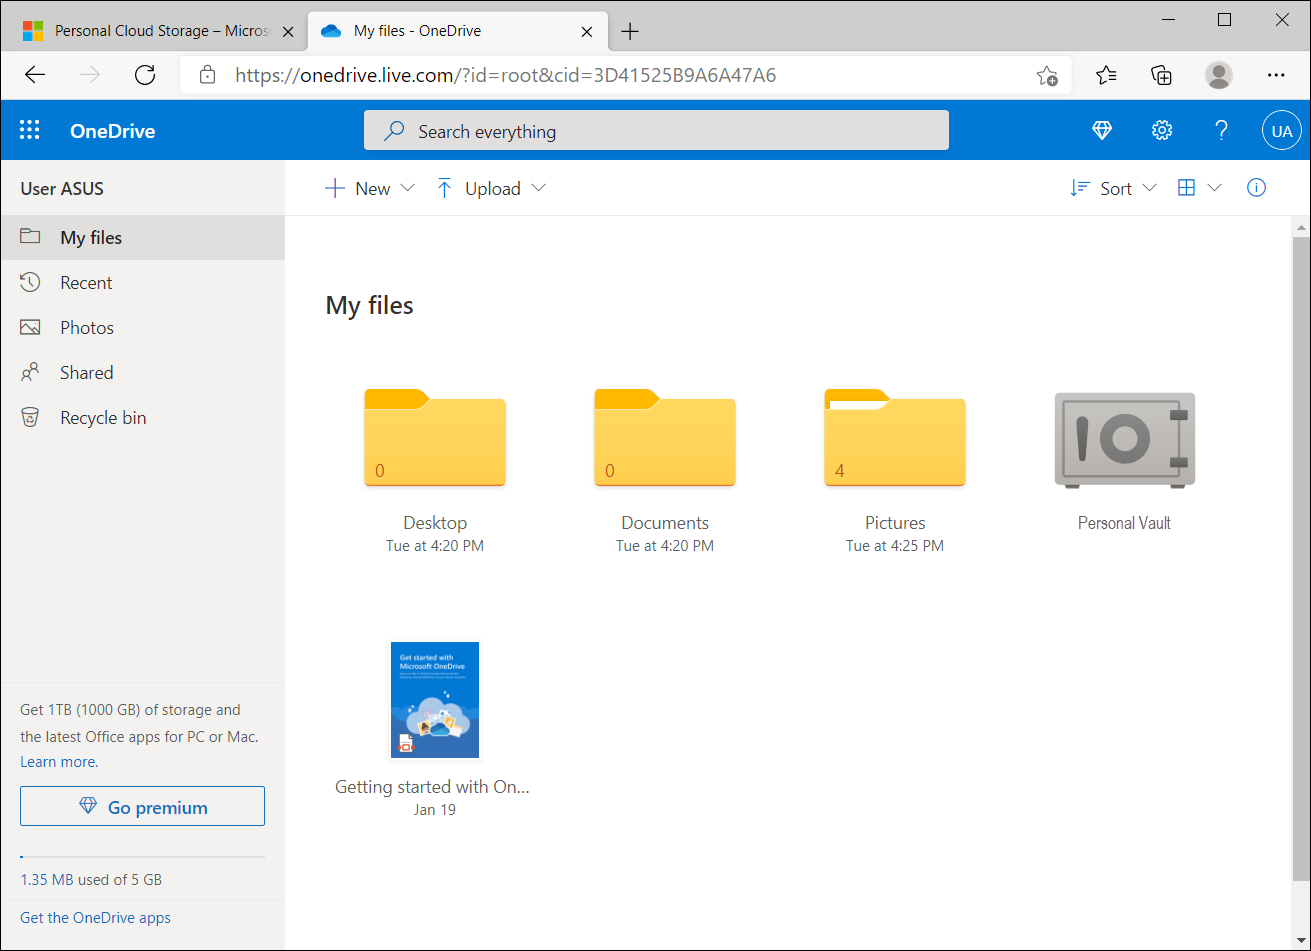
- After log-in, you are able to access your OneDrive files and folders on the website.
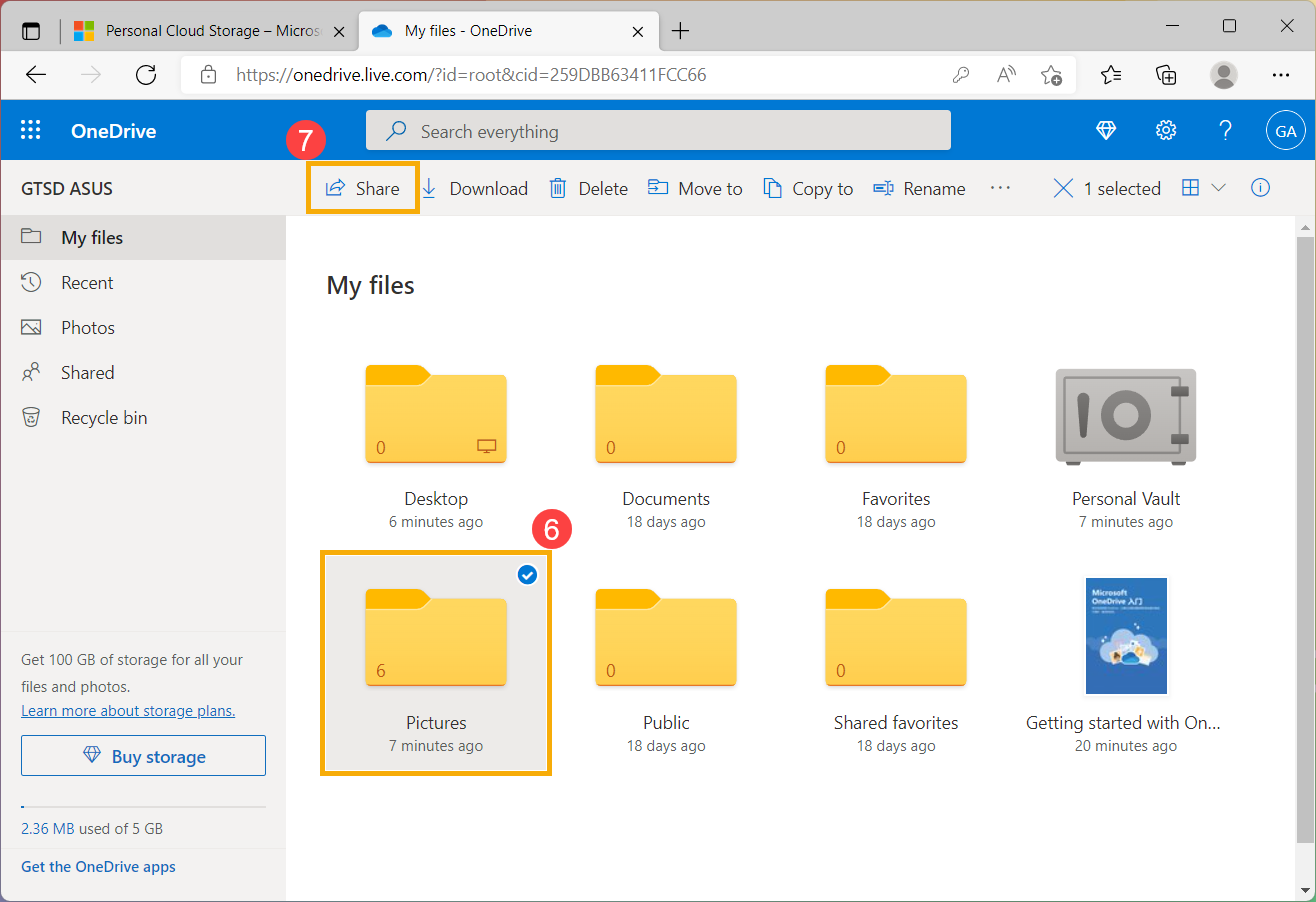
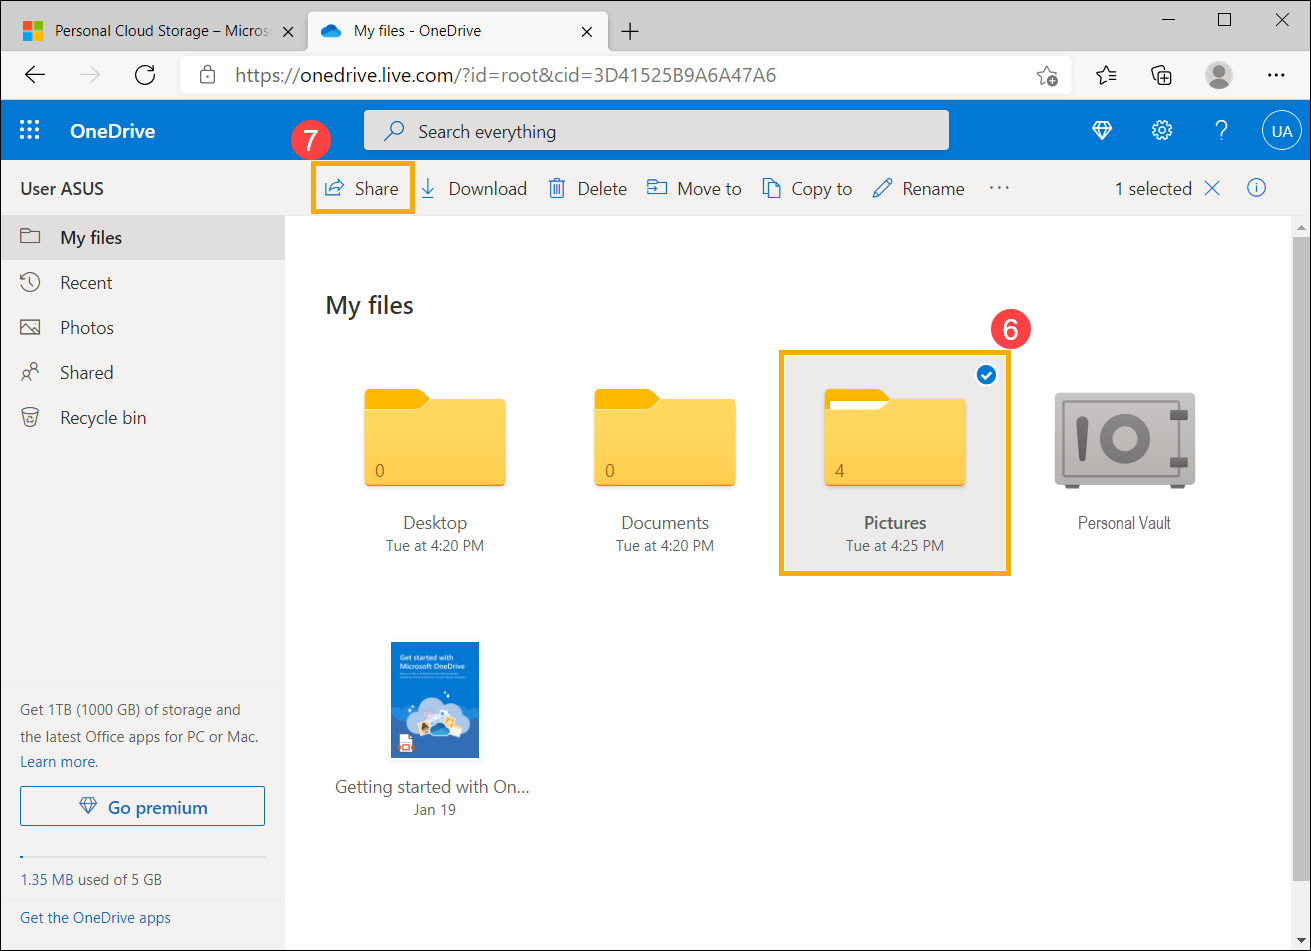
- If you would like to share files or folders with people, please pick the file or folder you want to share by selecting the circle
 in the upper corner of the item⑥, and then select [Share]⑦.
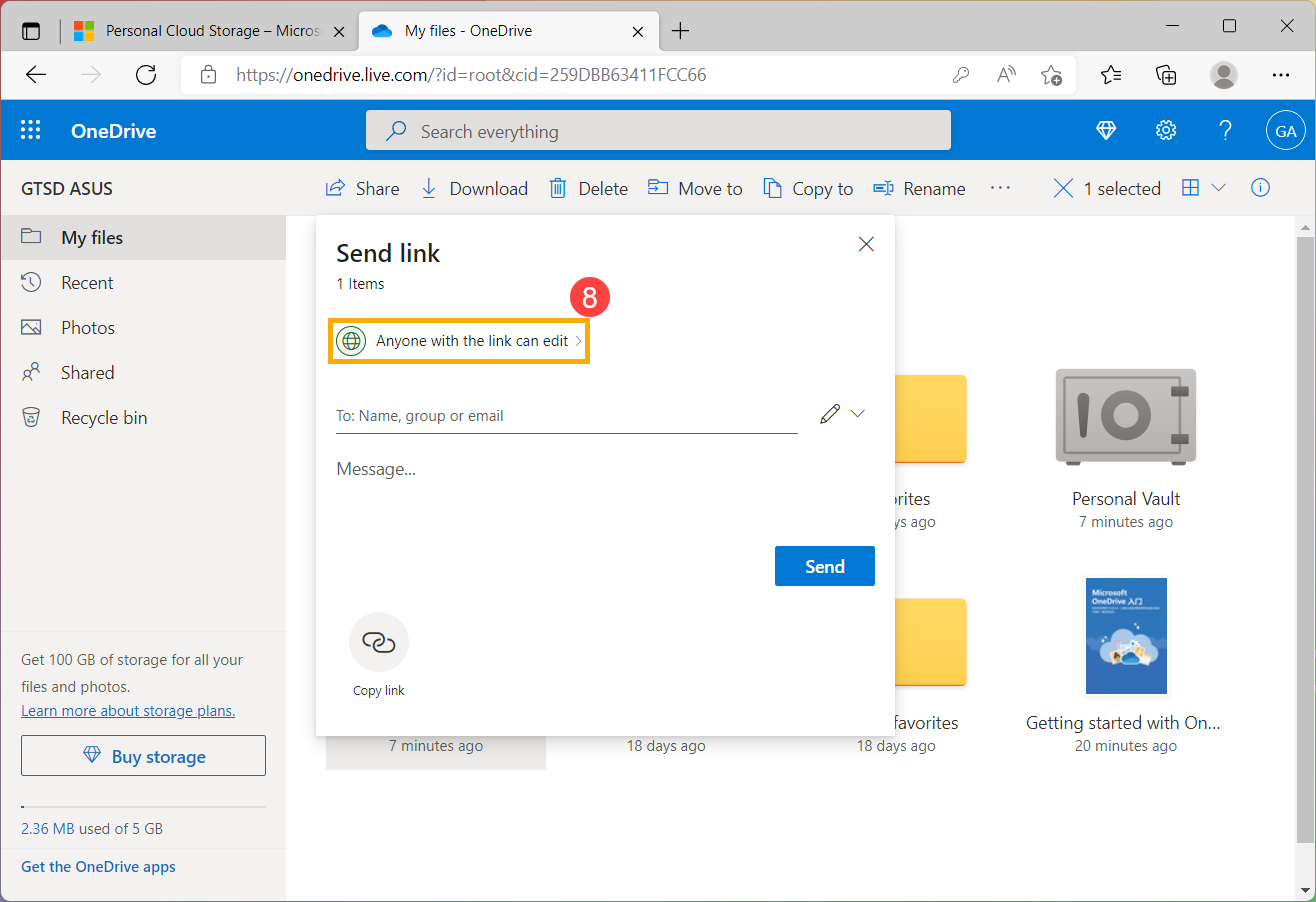
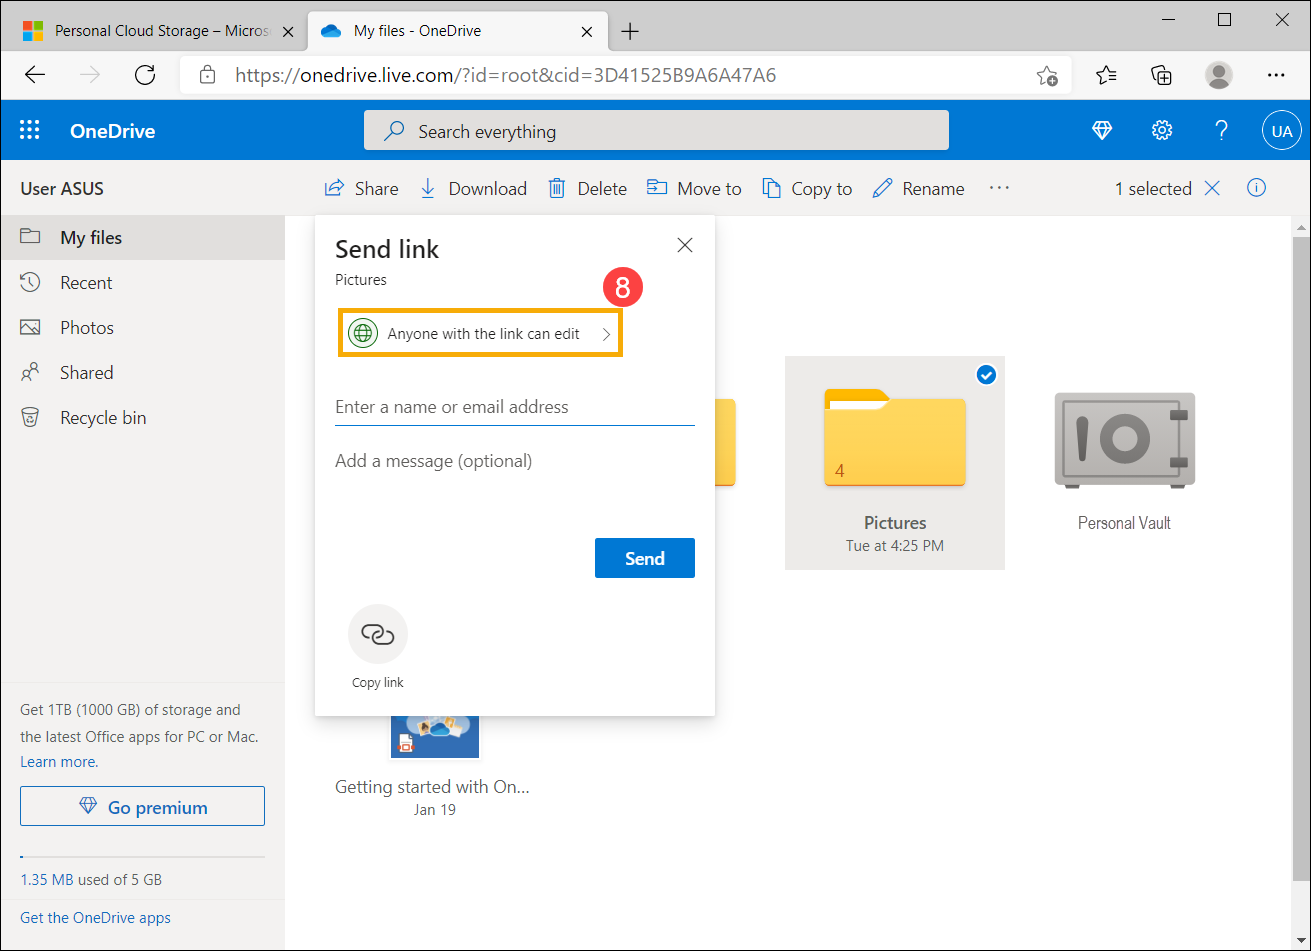
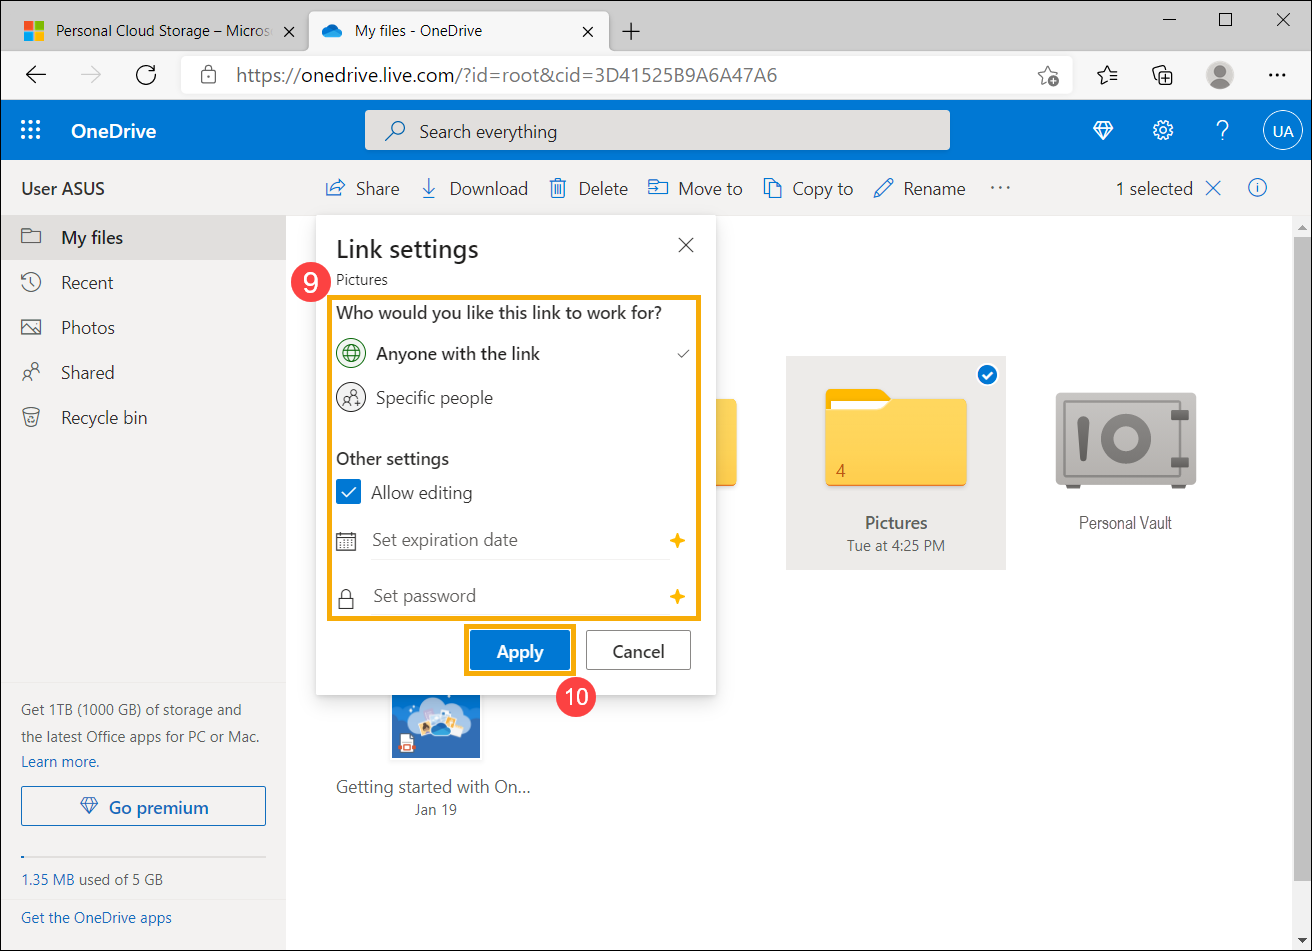
- Select [Anyone with the link can edit] to customize the link options⑧.
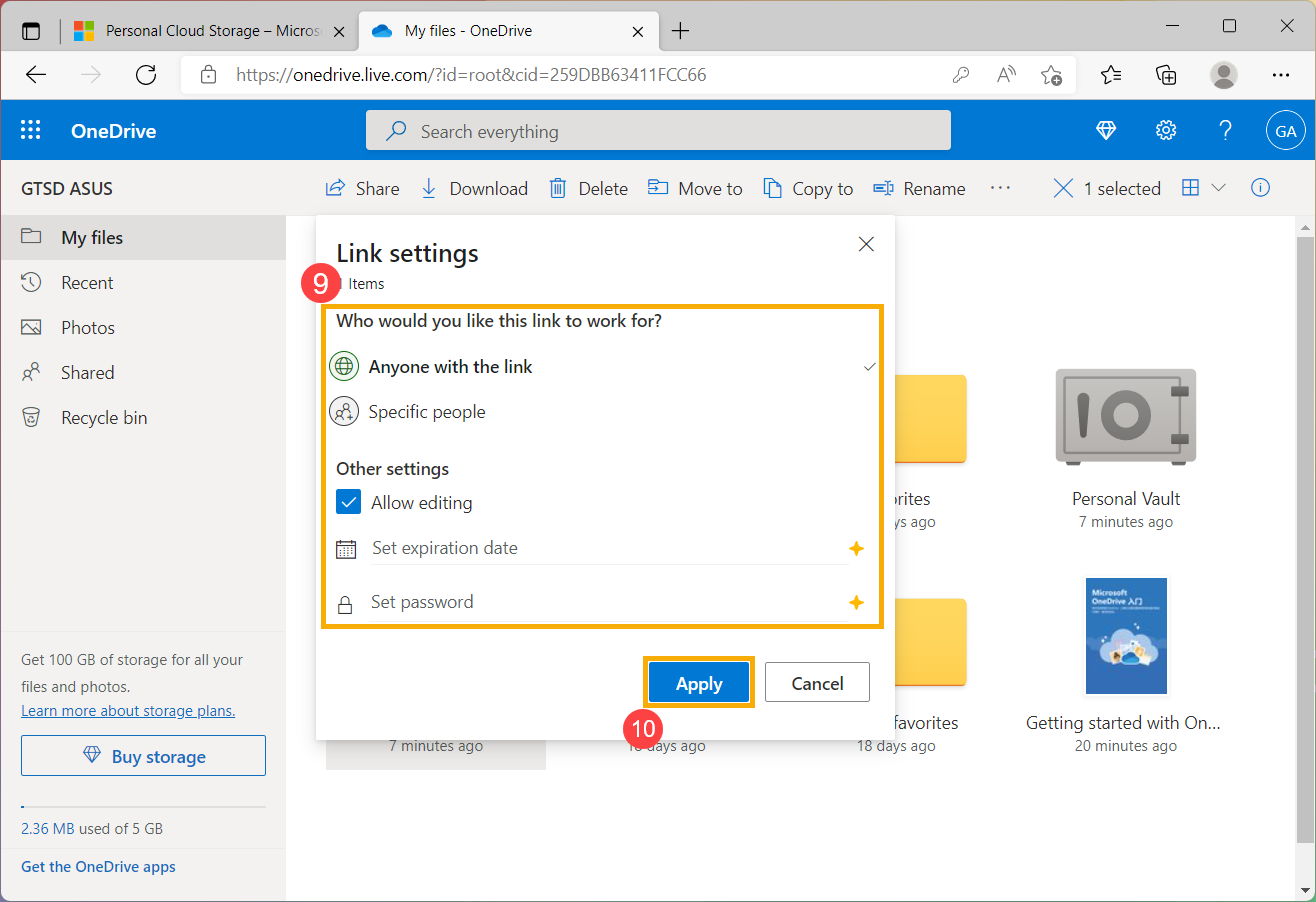
- Set the options you want on your link depend on your requirement⑨, and then select [Apply]⑩.
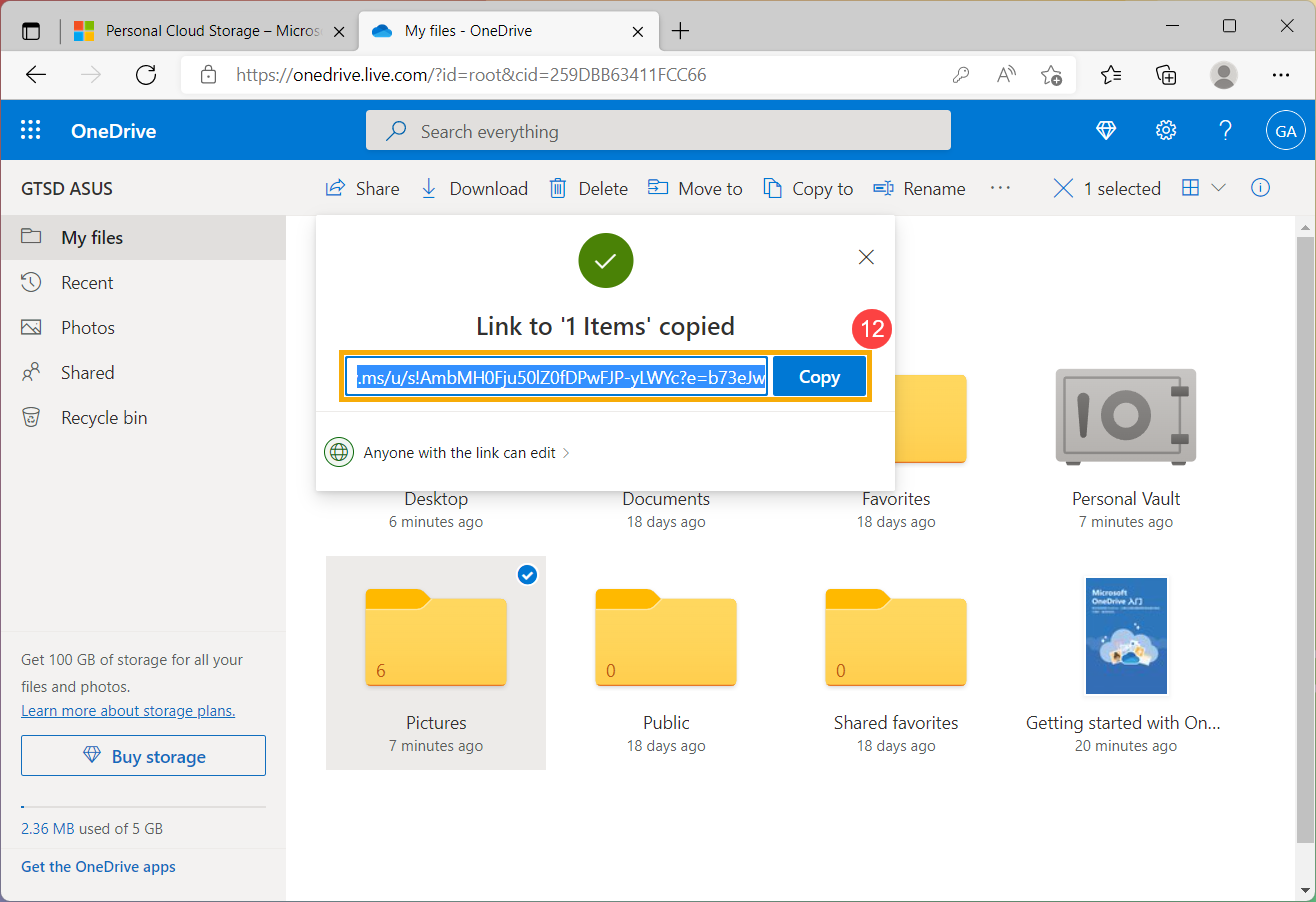
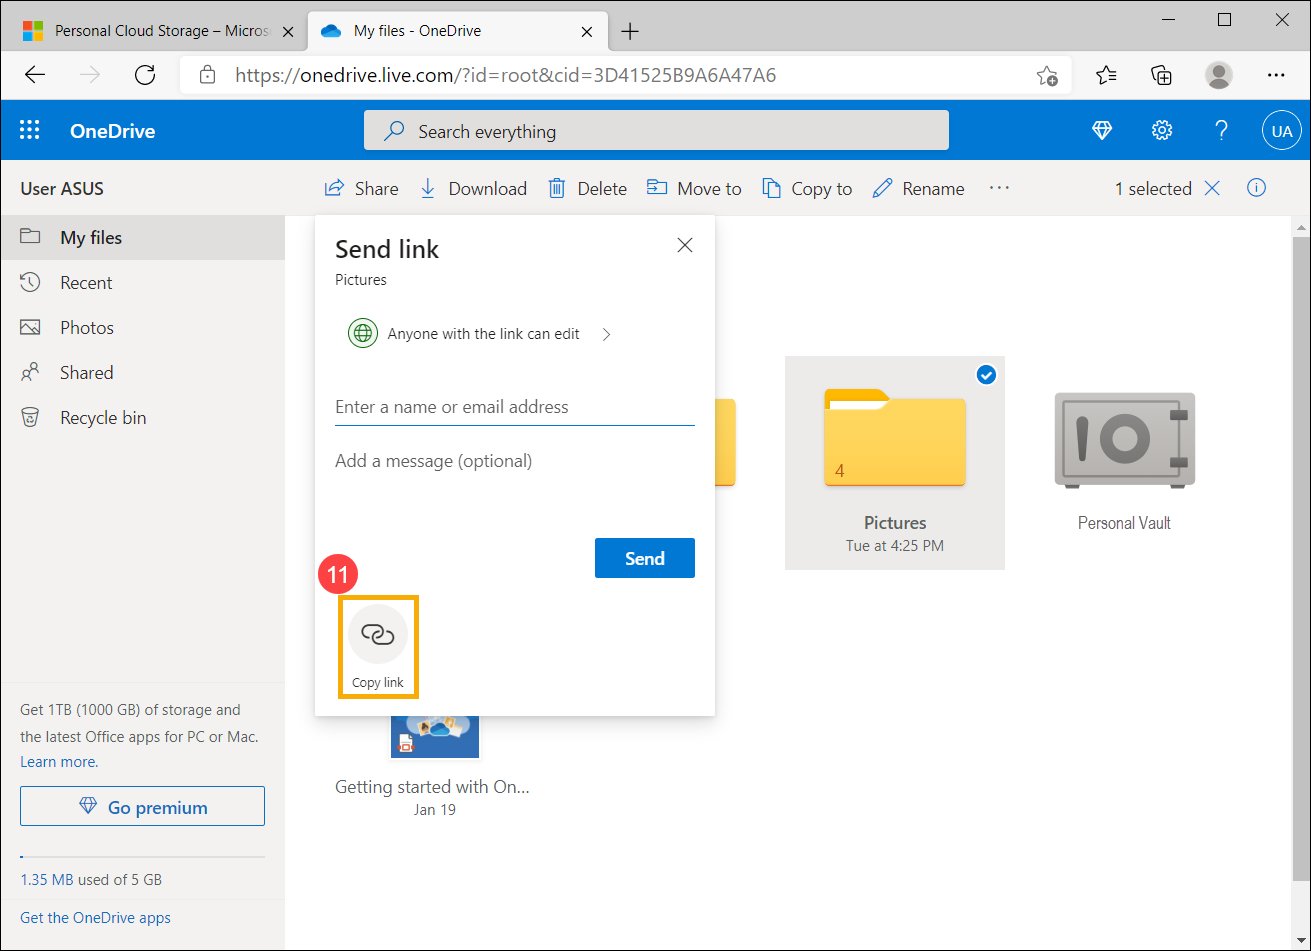
- After the setup is completed, and you are back to the Share box, please select [Copy link]⑪.

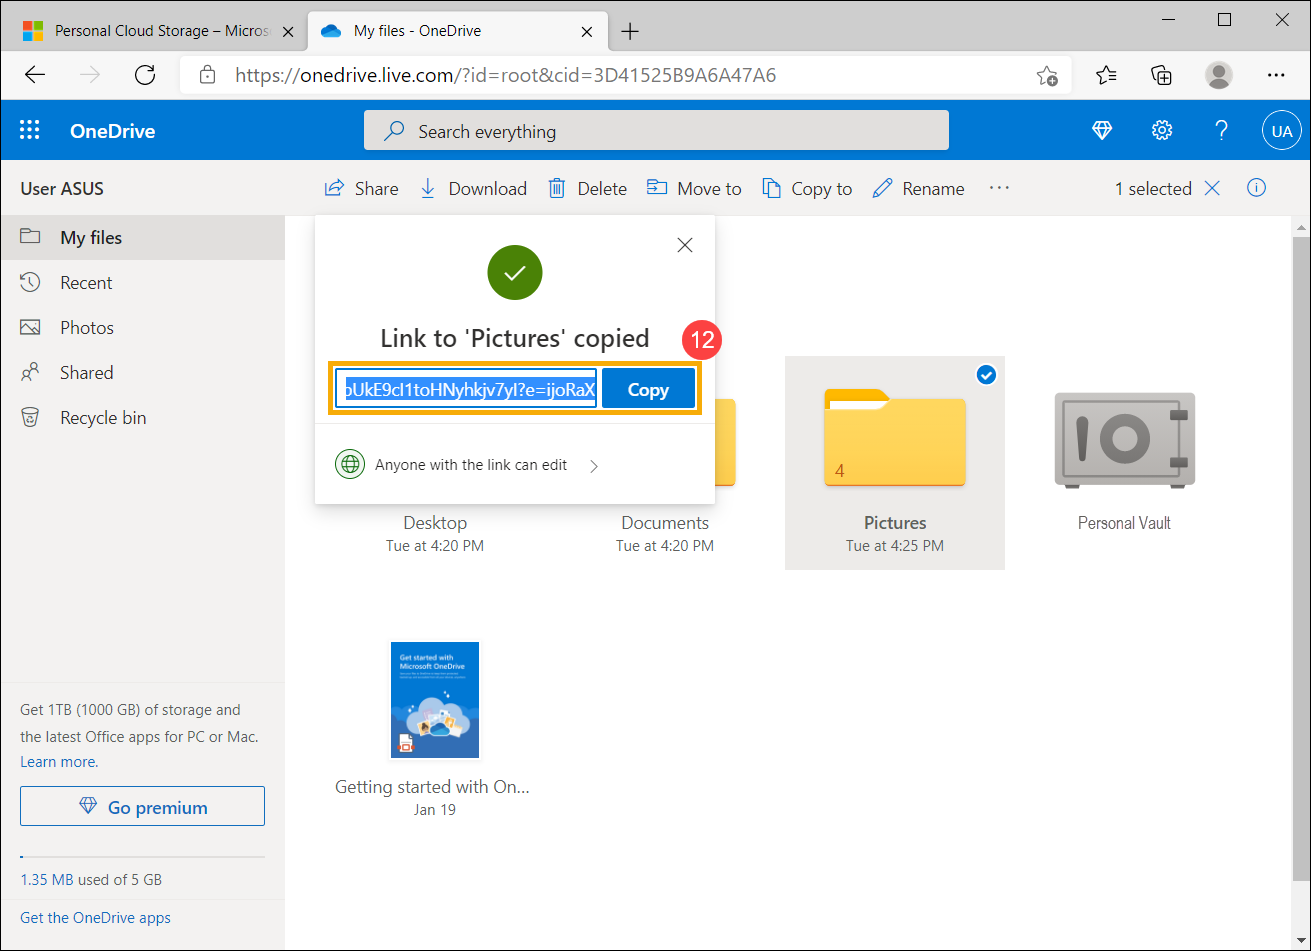
- You can paste the link in an email message or wherever else you are sharing the link⑫, and then the person with the permission is able to access your file or folder.
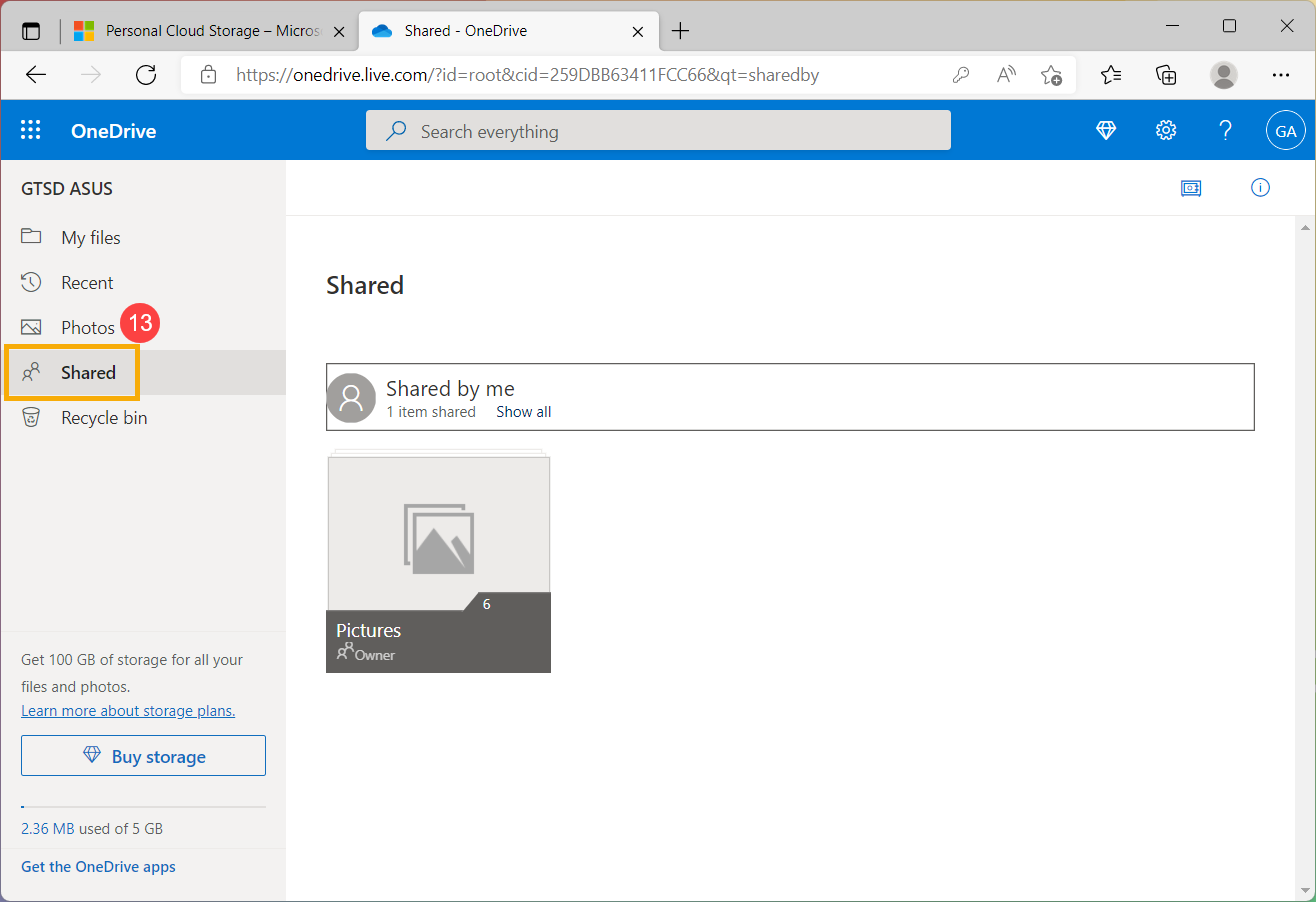
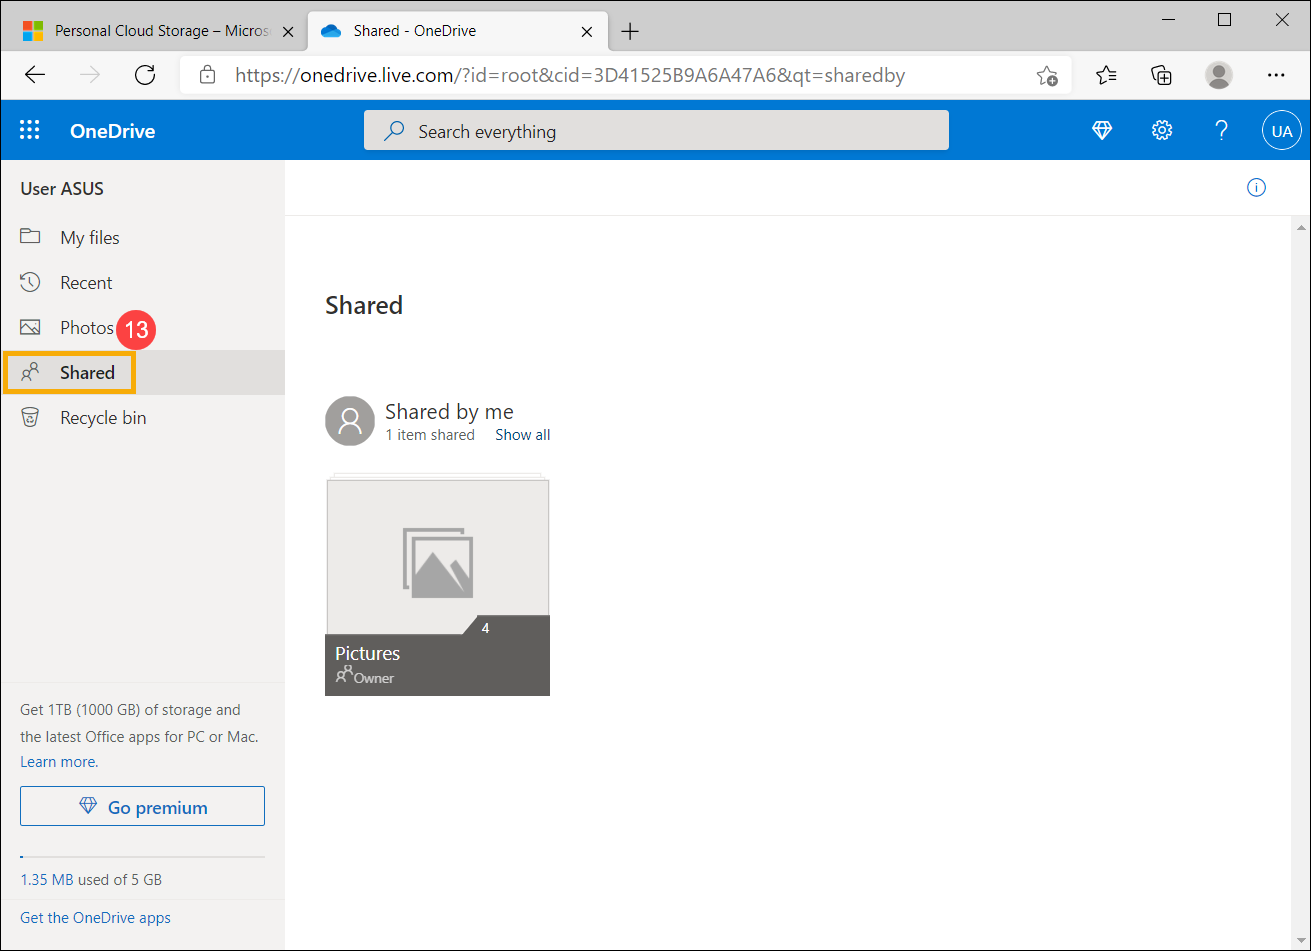
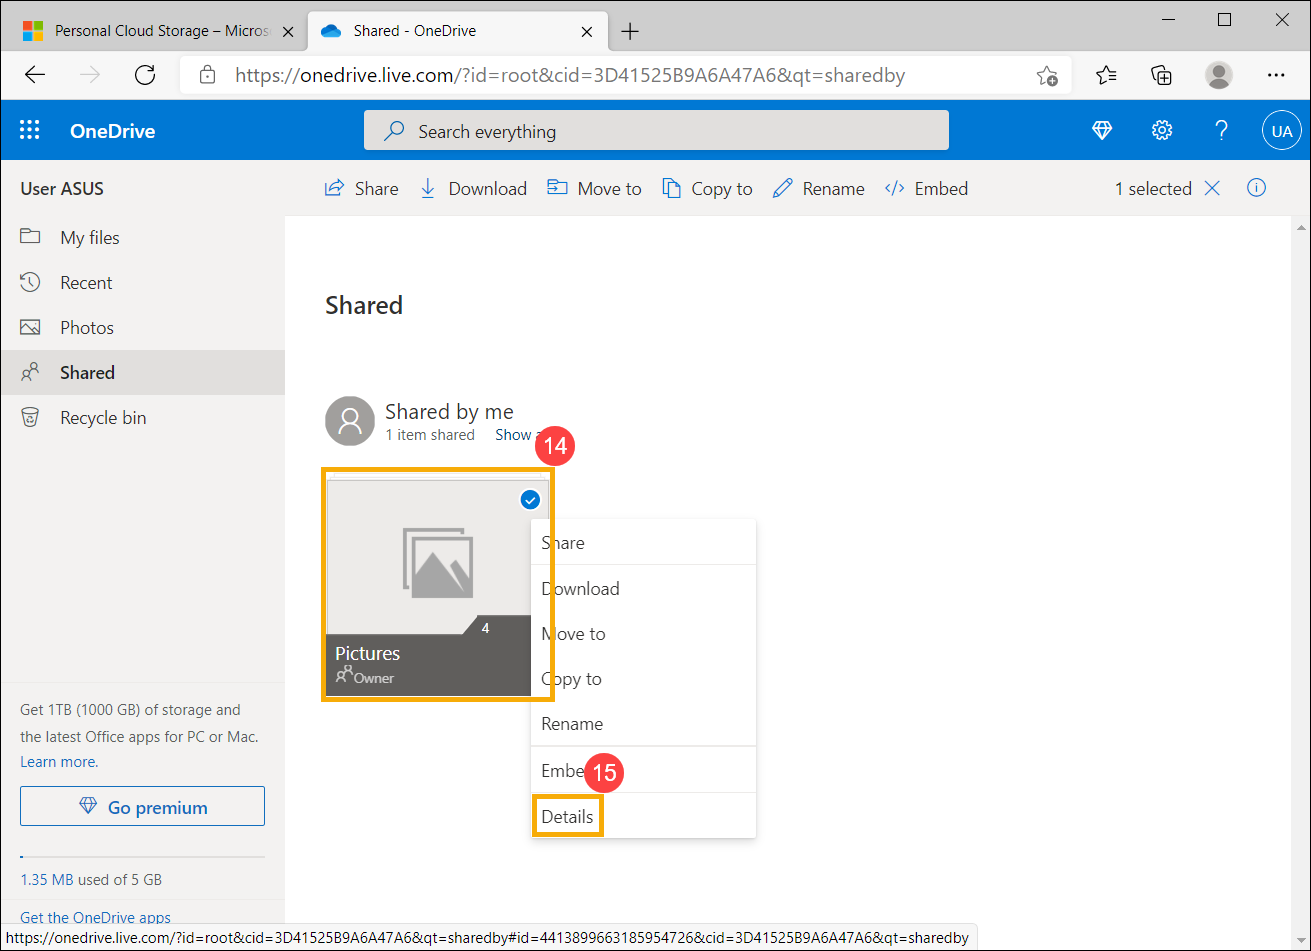
- If you would like to manage or stop sharing a file or folder, please select [Shared]⑬ on the contents of the left side in OneDrive, and then you can check all shared files or folders.
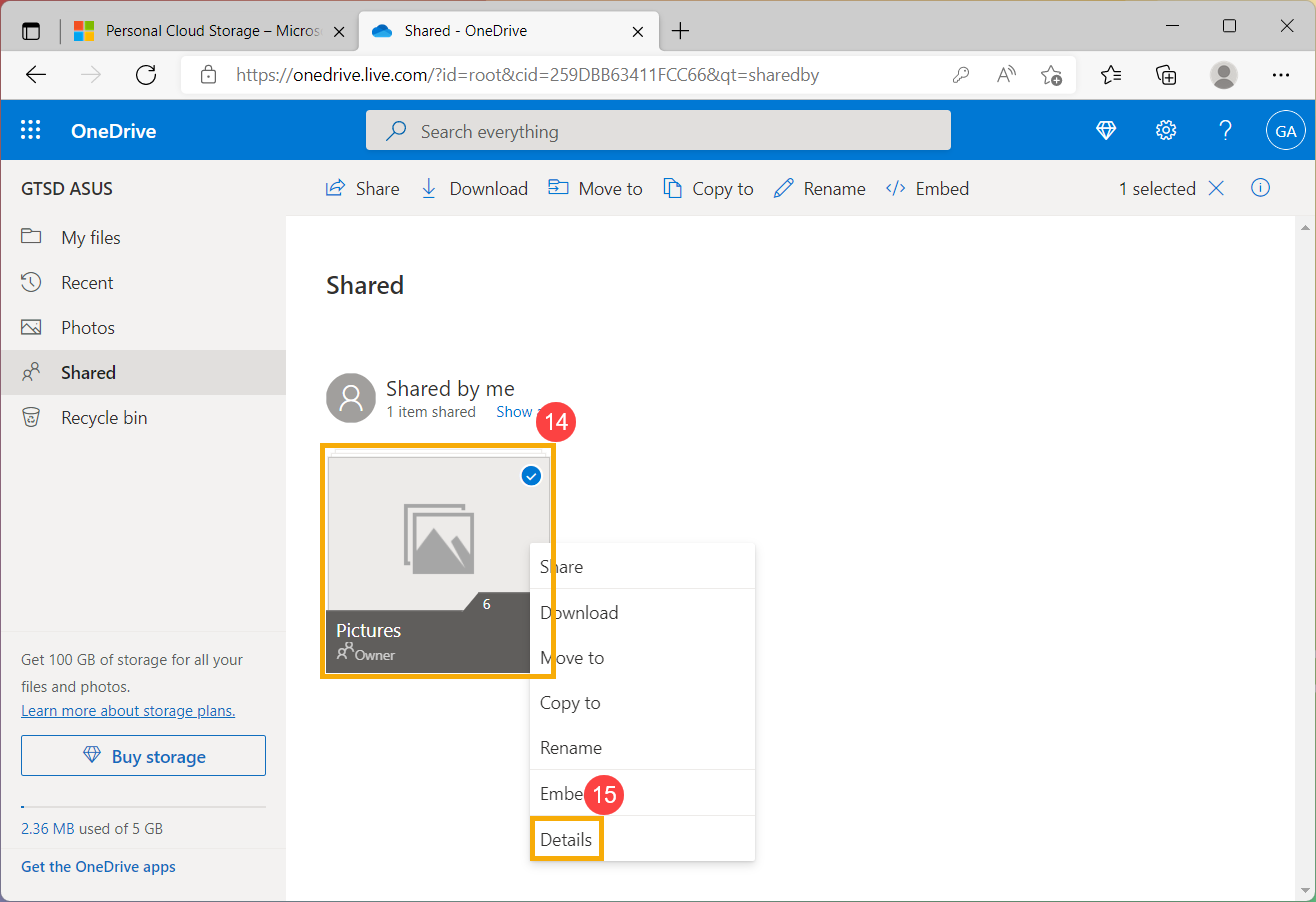
- Pick the shared file or folder you want to manage by selecting the circle
 in the upper corner of the item⑭, and then select [Details]⑮.
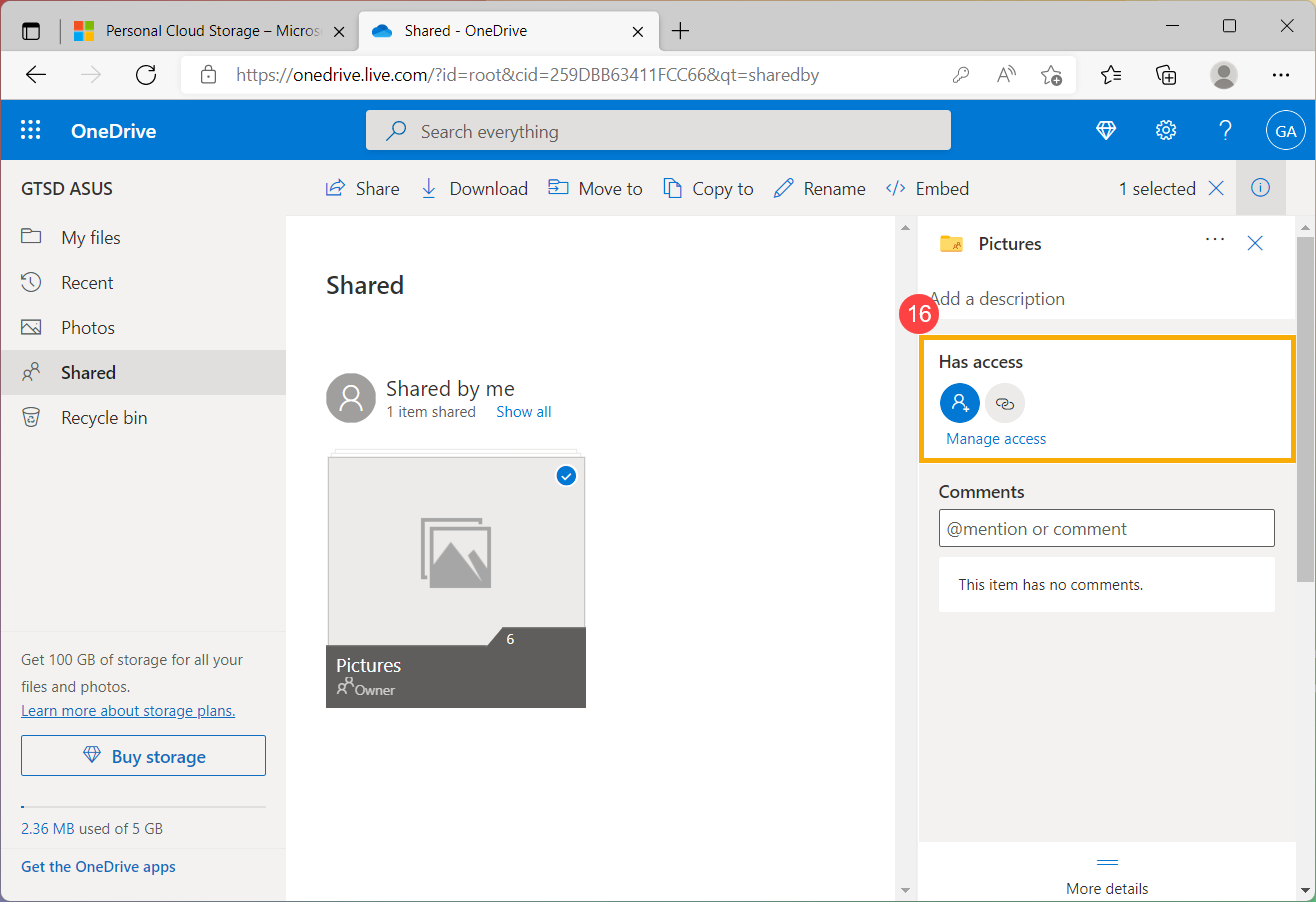
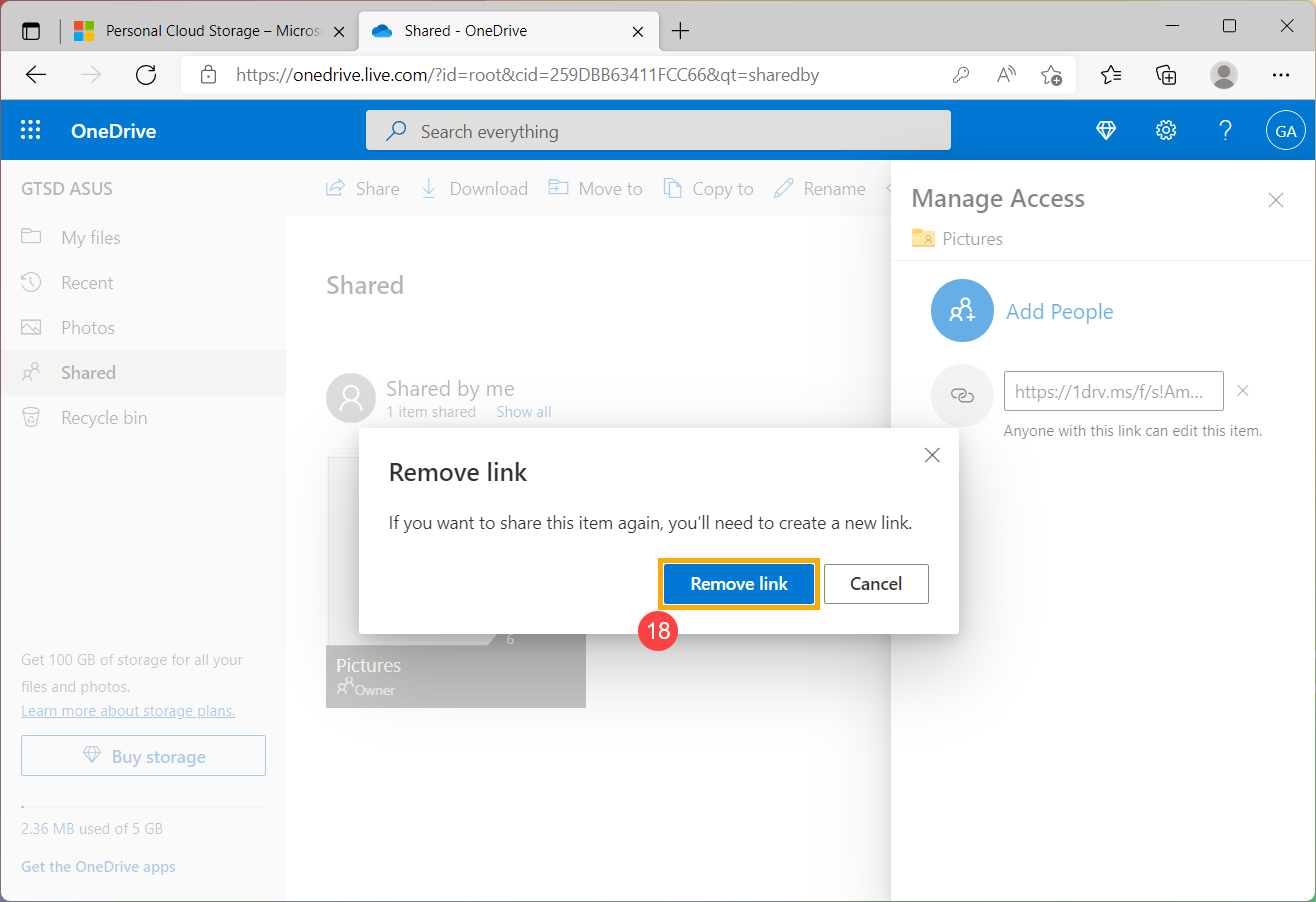
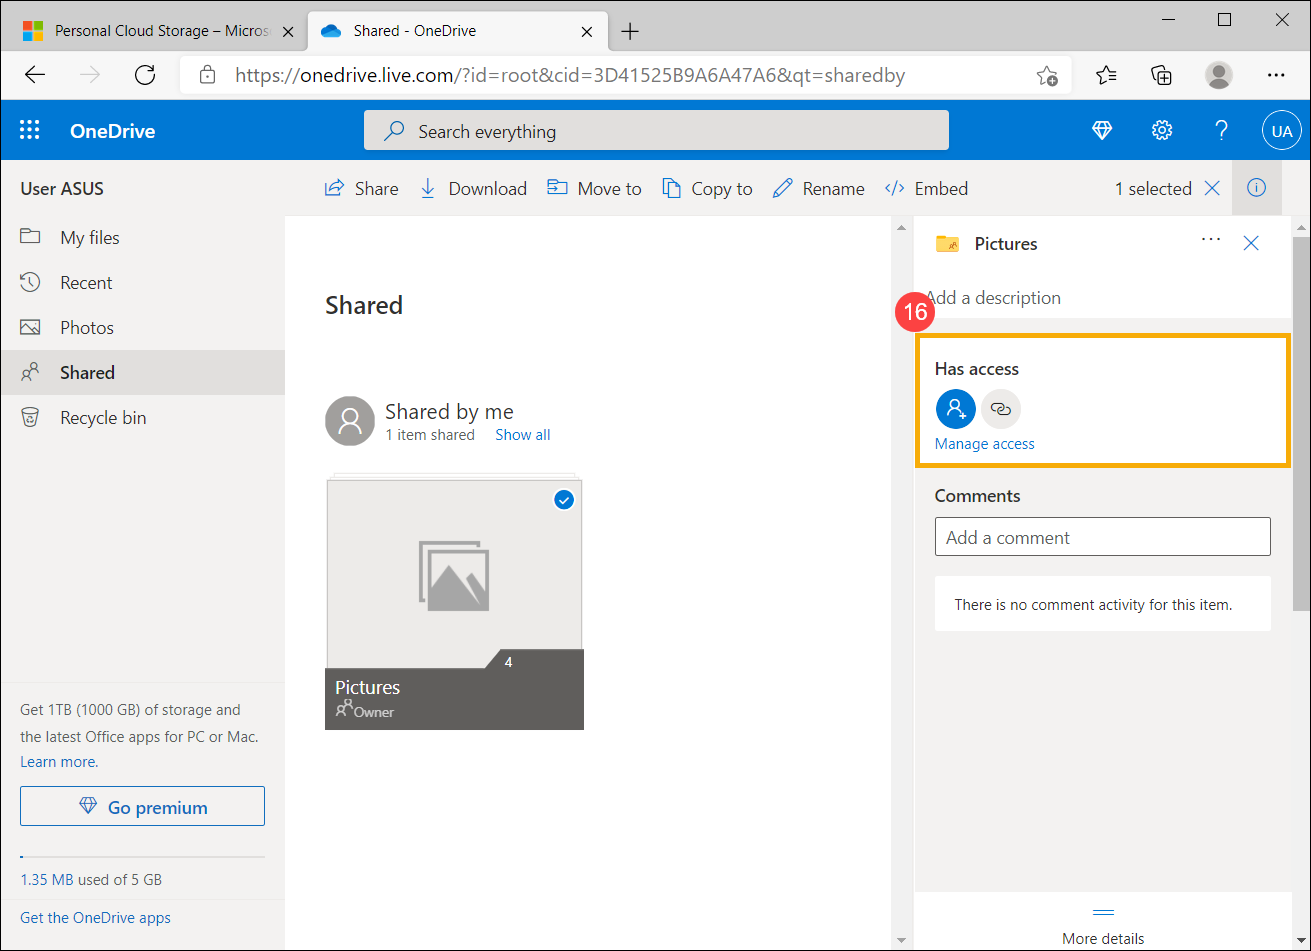
- You can check the person who is able to access this file or folder in the Has access section, and then select [Manage access]⑯.
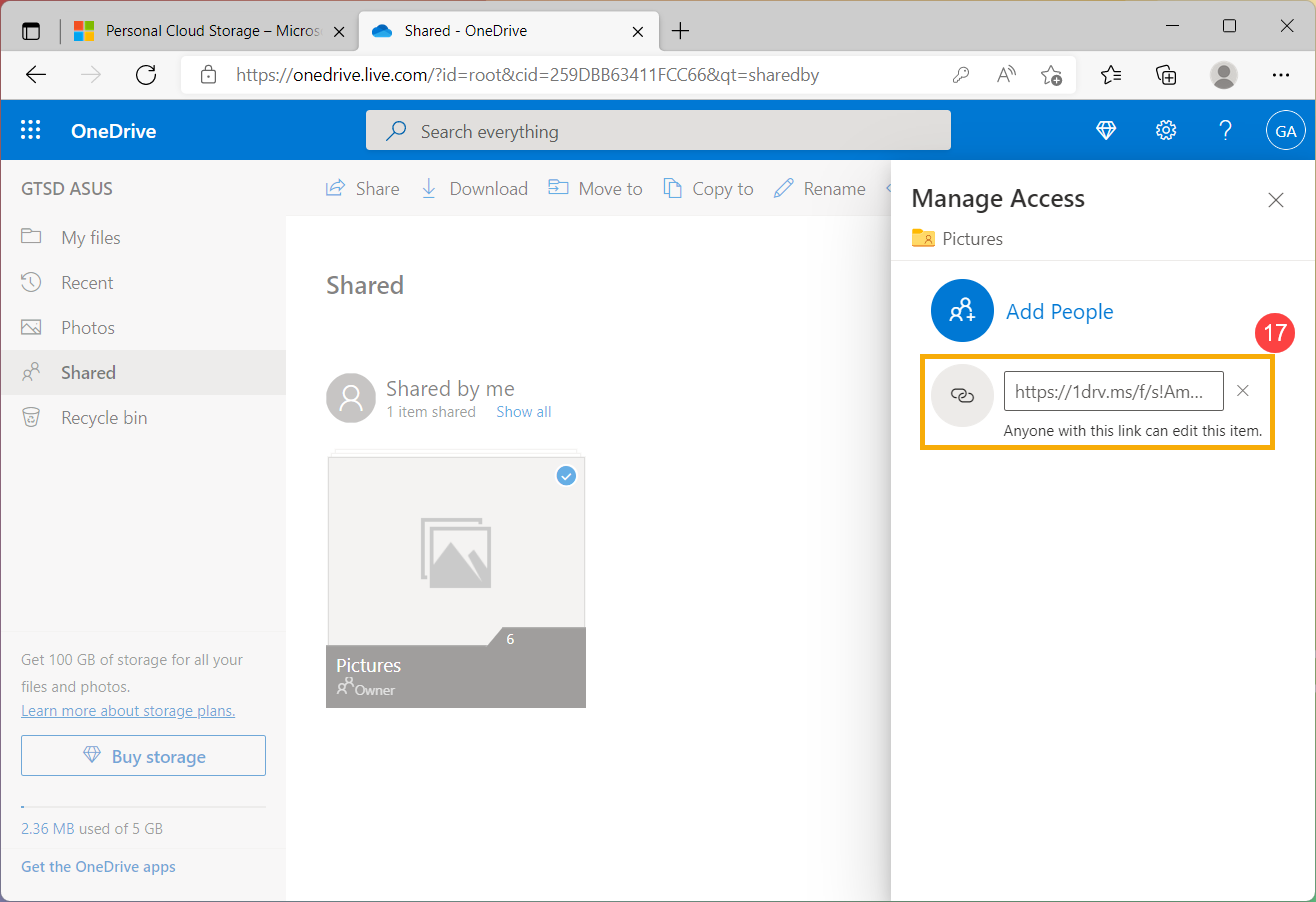
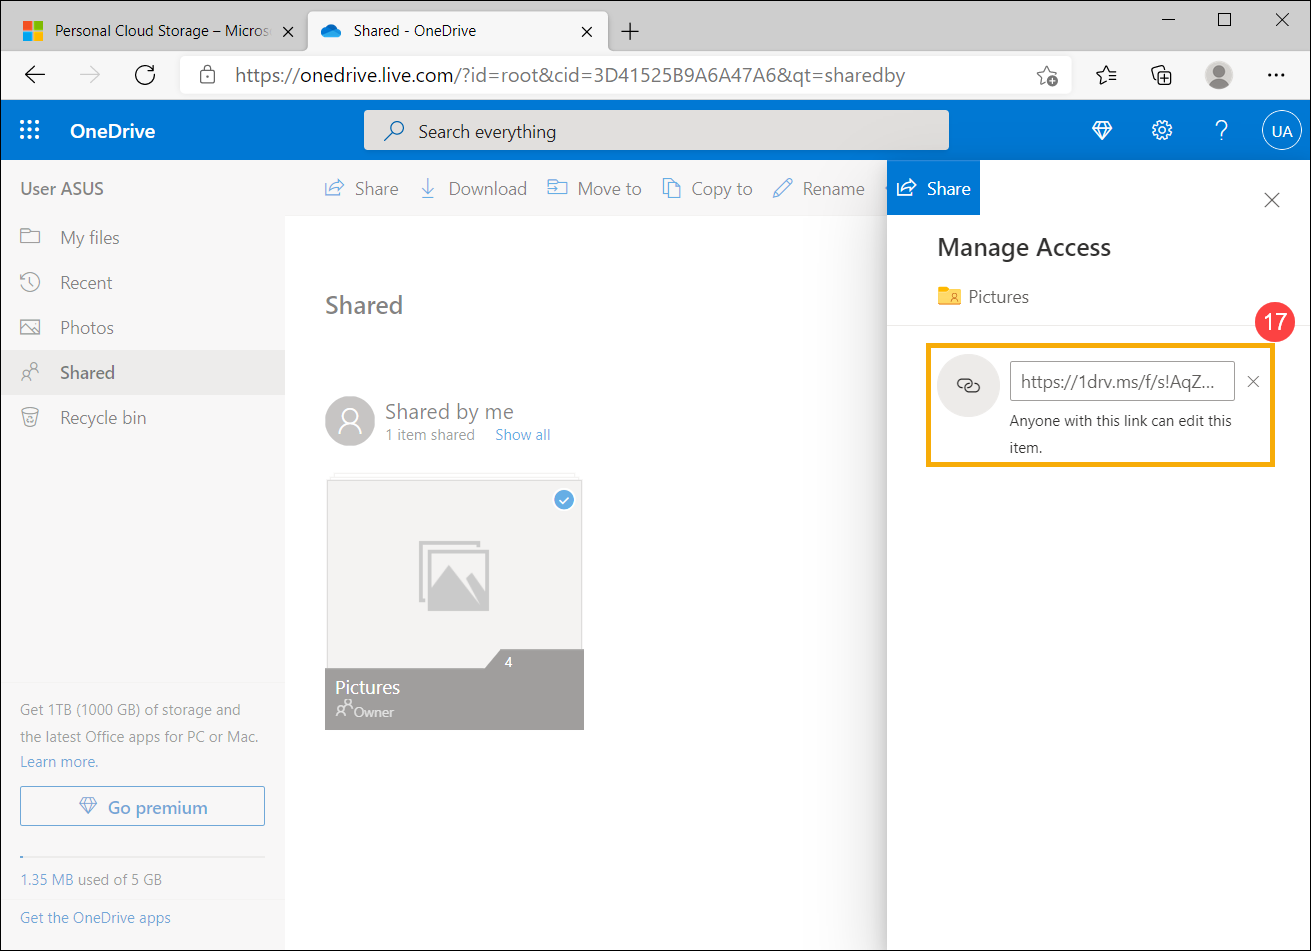
- Click
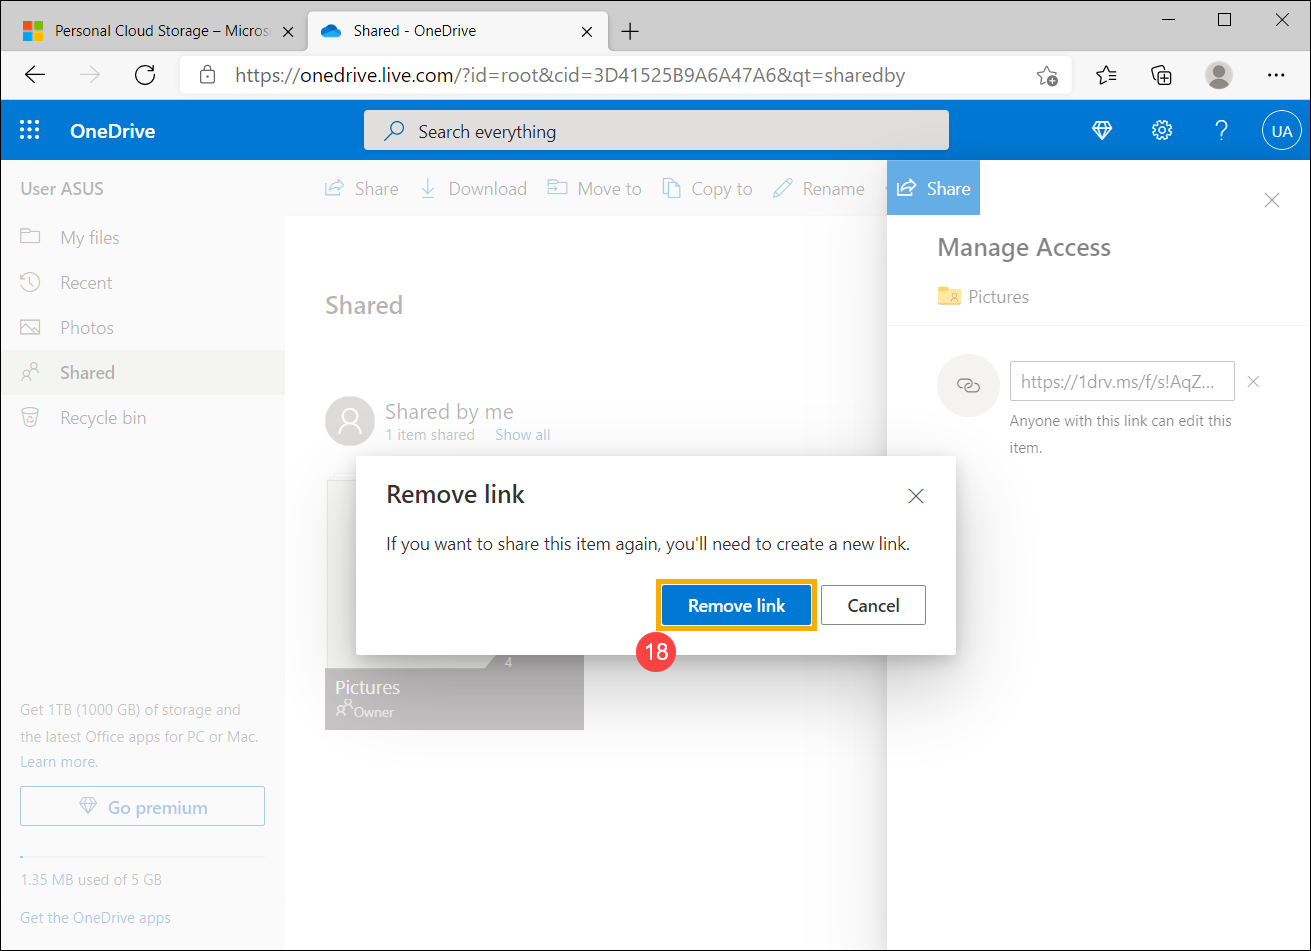
 icon on the right side⑰, and the select [Remove link]⑱ to stop sharing the shared file or folder.
Back to Table of Contents
Windows 10 operating system
Table of Contents:
Get started with OneDrive
- Type and search [OneDrive] in the Windows search bar①, then click [Open]②.
- When using OneDrive for the first time, please enter your Microsoft account③, and then select [Sign in]④. If you don’t have a Microsoft account yet, please select Create account.
- Please enter the password of your Microsoft account⑤, and then click [Sign in]⑥.
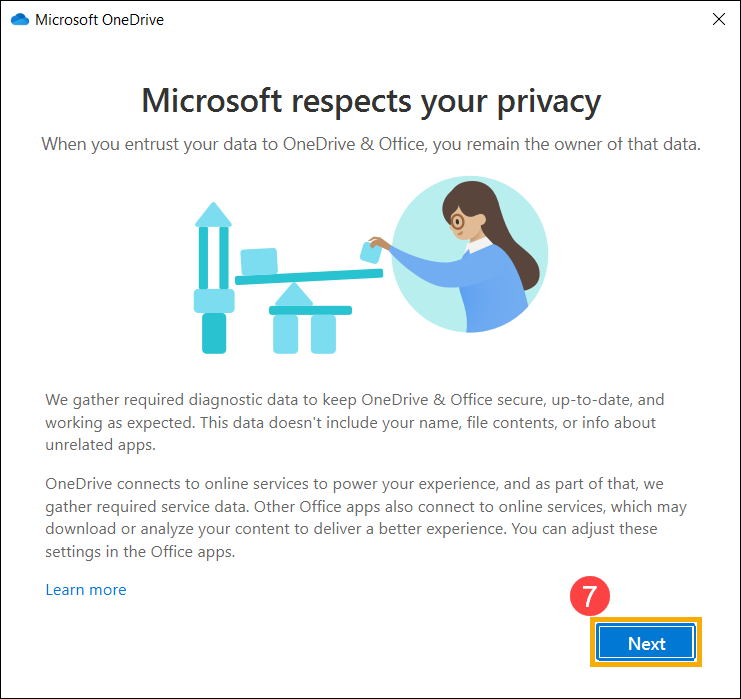
- Please read the Microsoft privacy statement, and then click [Next] to continue⑦.
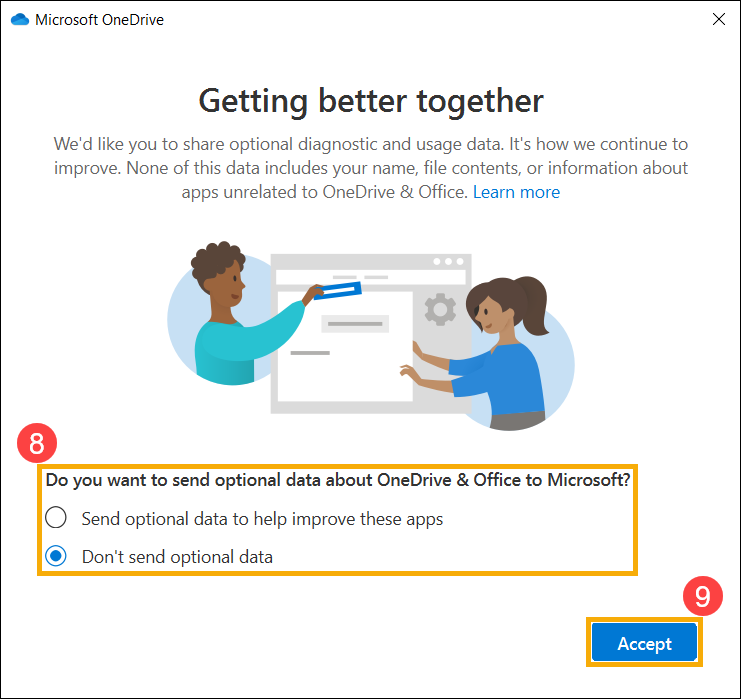
- You can choose either one whether sending optional data to Microsoft⑧, and then click [Accept]⑨.
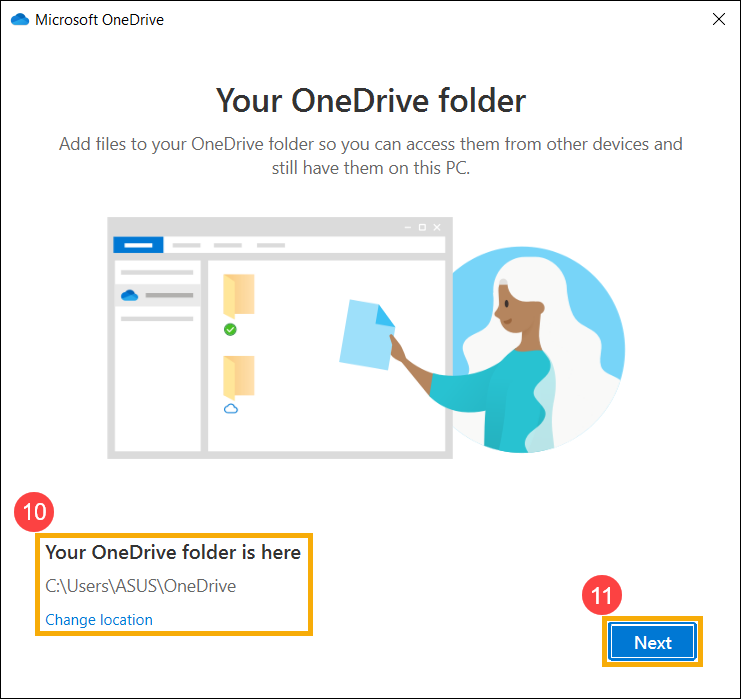
- Your OneDrive folder will be created at this location⑩, and you also can select Change location to change the folder location, and then select [Next]⑪.
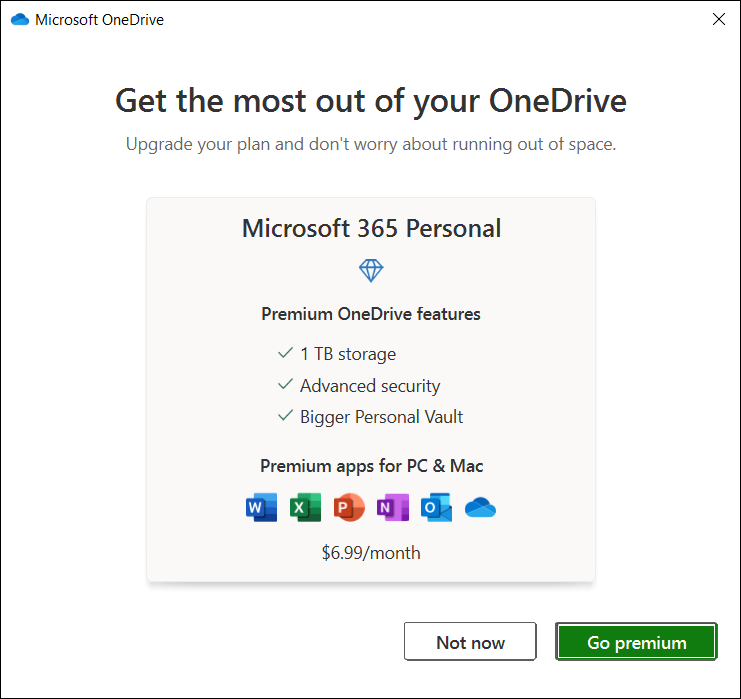
- If you need more OneDrive storage space, you can select Go premium to buy the relevant plan, or you are able to select Not now to use the free space as well.
- Next, there are some simple tips to describe the OneDrive operation, please click next to continue.
- After the following window appears, you can start to use OneDrive. You are able to go to the folder you set up to access OneDrive, or click the OneDrive shortcut on the left side⑫.
Back to Table of Contents
OneDrive Personal Vault
Personal Vault in OneDrive is protected by identity verification, you can access Personal Vault files with your fingerprint, face, SMS code, or other methods, so you can store your most sensitive files in the cloud without losing the convenience of anywhere access.
- In OneDrive folder, select [Personal Vault]①.

- When using Personal Vault for the first time, please read the following information of Personal Vault, and then click [Next]②.
- OneDrive needs your permission to continue, please click [Allow]③ to finish setting up.
- Microsoft needs to verify your identity, please confirm your account information and choose a verification method④. For example, select Email.
- If you are using text or email, please enter the code you receive⑤, and then select [Verify]⑥.
- After the verification is successful, you can start to use Personal Vault.
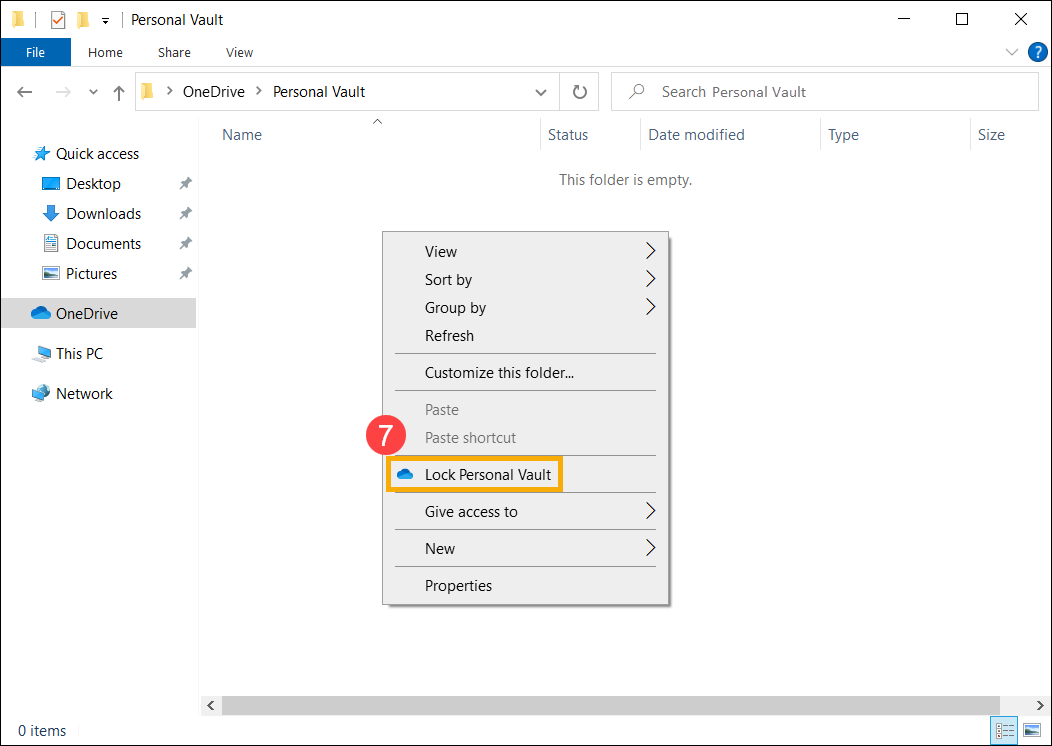
- Personal Vault automatically locks when you are not actively using it, or you can also manually lock it. Right-click anywhere of Personal Vault folder, and then select [Lock Personal Vault]⑦.
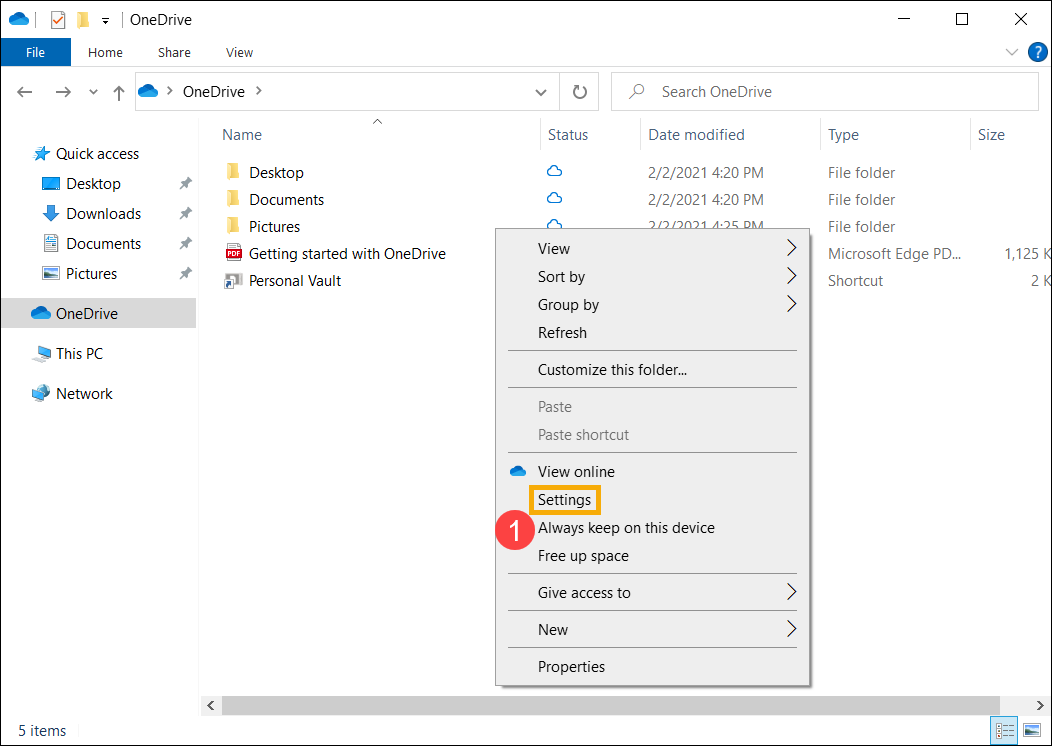
- You can also set up how long Personal Vault waits before automatically locking. Right-click anywhere of OneDrive folder, and then select [Settings]⑧.

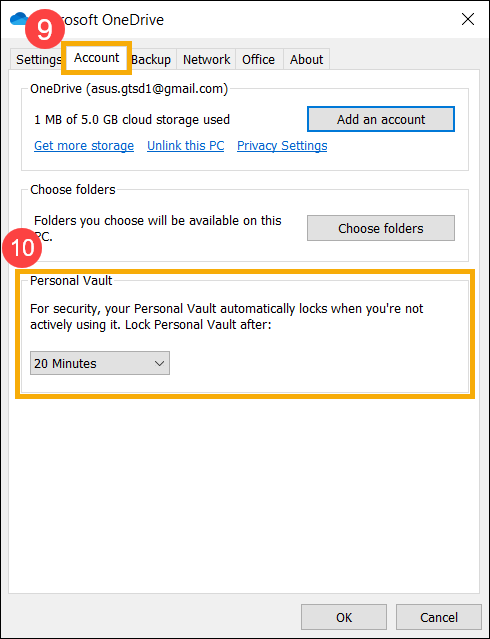
- Select the [Account] tab in OneDrive settings⑨, and then you can set up the locking time in the Personal Vault section⑩.
Back to Table of Contents
Sync files with OneDrive
With OneDrive, you can sync files between your device and the cloud, so you can get to your files from anywhere. If you add, change, or delete a file or folder in your OneDrive folder, the file or folder is added, changed, or deleted on the OneDrive website and vice versa. You can work with your synced files directly in File Explorer and access your files even when you are offline. Whenever you are online, any changes that you or others make will sync automatically.
- Right-click anywhere of OneDrive folder, and then select [Settings]①.
- Select the [Account] tab in OneDrive settings②, and then select [Choose folders]③.
- You can select the files or folders you want to sync④, then select [OK]⑤.
Back to Table of Contents
Open OneDrive via the browser and share files and folder
You are able to open OneDrive via the browser and then access your OneDrive files on the website, or share files with people by a shared link. The files and folders you store in OneDrive are private until you decide to share them and you can see who a OneDrive file is shared with or stop sharing at any time.
- Go to the Microsoft OneDrive website, then select [Sign in]①.
- Enter your Microsoft account②, and then click [Next]③.
- Enter your password of Microsoft account④, and then click [Sign in]⑤.
- After log-in, you are able to access your OneDrive files and folders on the website.
- If you would like to share files or folders with people, please pick the file or folder you want to share by selecting the circle in the upper corner of the item⑥, and then select [Share]⑦.
- Select [Anyone with the link can edit] to customize the link options⑧.
- Set the options you want on your link depend on your requirement⑨, and then select [Apply]⑩.
- After the setup is completed, and you are back to the Share box, please select [Copy link]⑪.
- You can paste the link in an email message or wherever else you are sharing the link⑫, and then the person with the permission is able to access your file or folder.
- If you would like to manage or stop sharing a file or folder, please select [Shared]⑬ on the contents of the left side in OneDrive, and then you can check all shared files or folders.
- Pick the shared file or folder you want to manage by selecting the circle in the upper corner of the item⑭, and then select [Details]⑮.
- You can check the person who is able to access this file or folder in the Has access section, and then select [Manage access]⑯.
- Click icon on the right side⑰, and the select [Remove link]⑱ to stop sharing the shared file or folder.
Back to Table of Contents